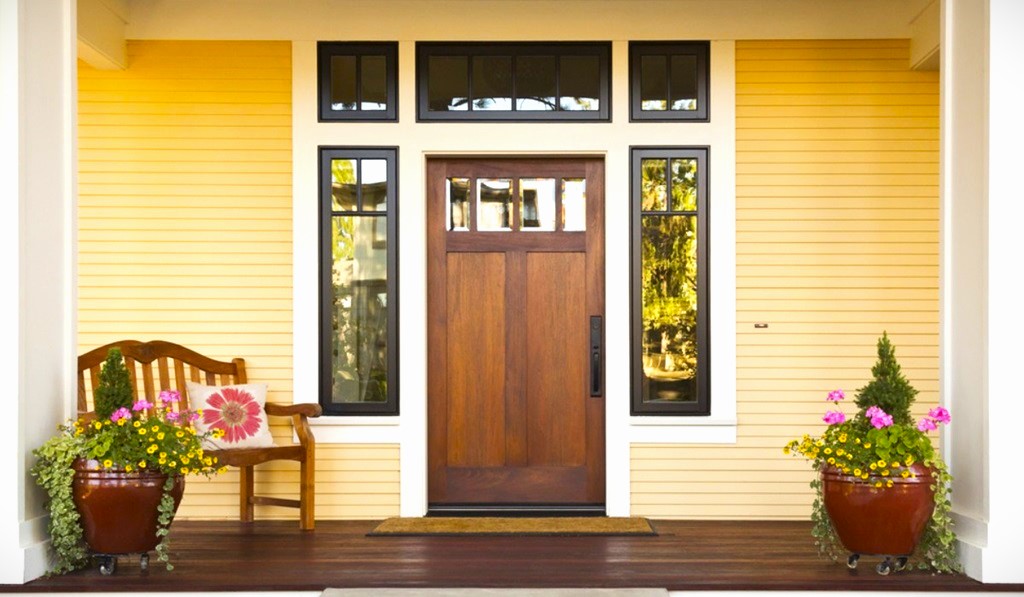
Building your own door frame offers customization, the potential to save money, and the satisfaction of a job well done. While it might seem daunting, the process is surprisingly straightforward with careful planning and some basic construction skills. This guide will walk you through the steps, offering tips and insights even for those with some existing woodworking knowledge.
Why Build Your Own Door Frame?
- Customization: Factory-built door frames come in standard sizes. Building your own lets you create a perfect fit for any doorway, especially in older homes with non-standard dimensions.
- Unique Design: A custom door frame allows you to incorporate special features like wider jambs for thicker walls or a distinctive trim profile.
- Skill Development: Building a door frame is an excellent project to hone your carpentry skills.
- Potential Cost Savings: If you have the tools and some woodworking experience, you might save money compared to buying a pre-built frame.
Materials and Tools
- Lumber: Choose pressure-treated lumber for exterior door frames. For interior frames, standard kiln-dried framing lumber (usually 2×4 or 2×6) works well. Ensure the wood is straight and free of major defects.
- Fasteners: Use construction screws for strength and holding power. Nails tend to loosen with door use.
- Measuring Tape: Accurate measurements are critical for a well-fitting frame.
- Level: Essential for making sure your frame is square and plumb.
- Circular Saw or Miter Saw: For cutting lumber to size.
- Drill/Driver: To pre-drill pilot holes, prevent wood splitting, and drive in screws.
- Hammer: For securing nails if using shims in the installation process.
- Wood Shims: To adjust the frame for a snug fit within the rough opening.
- Safety Equipment: Wear safety glasses and ear protection during the construction process.
Step-by-Step Instructions

- Measure the Rough Opening: Measure the width and height of the existing rough opening (the opening in the wall where the door will be installed). Your door frame must fit perfectly within this opening. Remember, the standard rough opening is roughly 2 inches wider and 2-2.5 inches taller than the door itself.
- Cut the Frame Pieces:
- Jambs: Cut two side jambs to the height of the rough opening minus the thickness of the bottom plate and header.
- Header: Cut the header to the width of the rough opening, plus the combined thickness of both side jambs.
- Bottom Plate: Cut the bottom plate to the same length as the header.
- Assemble the Frame: There are two common assembly methods:
- Butt Joint: The simplest method; join jambs to the header and bottom plate with construction screws, ensuring all angles are 90 degrees.
- Miter Joint: Creates a more aesthetically pleasing frame. Cut 45-degree angles on the ends of the top of the jambs and the header for a seamless corner.
- Install the Frame:
- Position: Place the assembled frame into the rough opening. Use a level to check that the jambs are plumb (perfectly vertical).
- Shimming: Insert shims between the frame and the rough opening if needed to adjust for any gaps and ensure the frame is fully supported.
- Securing: Drive construction screws through the shims and jambs into the wall studs.
- Attach Trim: Add trim (casing) around the frame to cover the gap between the frame and the wall, enhancing the look of the doorway.
Related: What are the best doors for your home?
Important Considerations and Extra Tips
- Check Local Building Codes: Ensure your construction methods adhere to local building codes, especially for exterior doorways.
- Door Swing and Hinge Placement: Plan the swing of the door (left-hand or right-hand) in advance to correctly position the hinges during installation.
- Pre-drilling: Always pre-drill pilot holes before driving in screws to prevent the wood from splitting.
- Account for Flooring: If the flooring is not yet installed, factor its thickness into your measurements. You may need to cut the bottom of your jambs later to ensure proper door clearance.
Building a door frame is a rewarding DIY project. By following these guidelines and using care, you can create a sturdy and well-fitting frame that will serve your home for years to come!


