

Whether you’re replacing an old door or repairing structural damage, knowing how to reframe a garage door is essential. Many homeowners underestimate the complexity of this task, often believing it’s just about nailing some boards together. But in truth, reframing ensures your garage door opens and closes properly, aligns with building codes, and enhances your home’s value.
According to the U.S. Department of Energy, poorly installed or warped garage frames can lead to energy loss, increased wear on door mechanisms, and even structural issues. That’s why investing time and effort into proper reframing matters—not just for aesthetics but also functionality and safety.
Why Reframing a Garage Door Matters
Garage doors are often the largest moving component in your home. A misaligned frame can compromise the door’s performance, reduce insulation, and invite water intrusion. Based on a report by Remodeling Magazine, replacing or upgrading a garage door has an average ROI of 93.3%, one of the highest among home renovation projects.
So, when you’re reframing, you’re not just fixing a problem, you’re increasing your property’s market appeal. Professionals agree: reframing adds structural integrity and gives your garage a fresh, polished appearance.
Signs You Need to Reframe
Before grabbing your tools, evaluate if reframing is truly necessary. Common signs include:
- Gaps between the frame and wall
- Sagging or crooked door openings
- Water leaks or rot around the base
- The door rubs or sticks when opening
Structural settling or poor original construction can cause these problems. Left unchecked, these issues could worsen and lead to expensive repairs.
Tools and Materials You’ll Need
Gathering the right tools ensures a smoother workflow. Here’s a checklist recommended by professional contractors:
- Measuring tape
- Circular saw or reciprocating saw
- Hammer or nail gun
- Level and framing square
- Pressure-treated lumber (typically 2×4 or 2×6)
- Galvanized nails or structural screws
- Pry bar and utility knife
- Construction adhesive
- Safety gear (gloves, goggles, dust mask)
Pro Tip: Always use pressure-treated lumber at ground contact to prevent rot and termite damage.
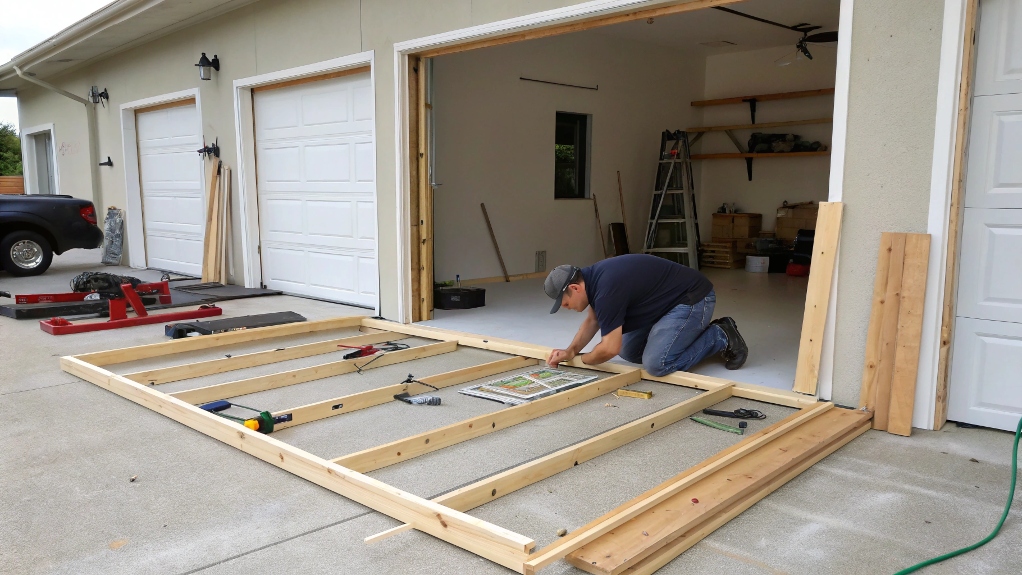
Step-by-Step: How to Reframe a Garage Door
-
Measure the Opening
Start by measuring the existing garage door opening. Ensure the header, side jambs, and floor are level and square. Take multiple measurements to confirm consistency.
Why it matters: Any misalignment will affect the installation of your new door, leading to mechanical strain or improper sealing.
-
Remove the Old Frame
Using a pry bar and saw, carefully dismantle the old framing components. Look for water damage, mold, or insect activity. Dispose of any compromised materials properly.
Expert Insight: If you uncover signs of foundational shifts or rot in the studs, consult a structural engineer before proceeding.
-
Install the New Header
Cut and fit a new header if needed. This beam supports the load above the garage door. It must span the full width of the opening and sit securely on king and jack studs.
Note: For wider garage doors, a double or triple 2×12 header may be necessary. Local codes might also require engineered lumber.
-
Frame the Sides (Jambs)
Cut two vertical studs (jack studs) to sit under the header on each side. Nail them into place, ensuring they are perfectly plumb.
Add cripple studs if needed between the header and top plate. Use a framing square to maintain right angles.
-
Install Bottom Plate and Threshold
Add a pressure-treated bottom plate if replacing the entire wall section. Seal the floor connection using construction adhesive and galvanized anchors.
To prevent water seepage, consider installing a sloped threshold or weather-resistant barrier.
-
Sheath and Seal
Attach exterior-grade sheathing (like OSB or plywood) to the framed opening. Follow with house wrap or a moisture barrier. Seal joints with waterproof tape.
Pro Insight: A well-sealed frame keeps pests and moisture out, ensuring long-term durability.
-
Inspect and Prepare for Door Installation
Double-check that all sides are level, plumb, and square. Once everything aligns correctly, you’re ready to install or rehang the garage door.
You can view an excellent demonstration by This Old House on YouTube showing proper framing techniques.
Featured Snippet: Quick Answer
How to reframe a garage door?
To reframe a garage door, remove the existing trim and damaged framing, then measure the opening accurately. Install a new header, side jambs, and threshold using pressure-treated lumber. Ensure the frame is square and level. Finish by sealing the frame with weather barriers and sheathing. This process ensures the garage door functions correctly and improves the overall insulation and appearance of your home.
Pro Tip: Always check local building codes before reframing, and consider professional help if structural repairs are needed.
7 Most Common FAQs
Do I need a permit to reframe a garage door?
Yes, most municipalities require a permit for structural changes, especially if altering load-bearing elements.
Can I reframe a garage door by myself?
DIYers with moderate experience can handle it, but structural reframing may need a licensed contractor for safety.
What’s the average cost to reframe a garage door?
Costs vary, but homeowners typically spend between $300 and $1,000, excluding new garage door installation.
How long does the reframing process take?
Basic reframing can take 1 to 2 days. Larger or damaged openings may extend the timeline.
What wood should I use?
Use pressure-treated wood for base plates and rot-resistant studs for durability.
Can reframing fix a sagging garage door?
Yes, a properly aligned frame can resolve sagging or misaligned garage doors.
Should I hire a pro for the job?
If you’re unsure about load-bearing walls, hiring a pro ensures compliance with codes and safety standards.
Read More Also: Battling Weeds Naturally: A Deep Dive into Using Vinegar in Your Garden
Final Thought
Reframing a garage door is not just a weekend fix—it’s a significant upgrade that affects function, safety, and value. Done right, it sets the stage for a smooth-operating door and enhanced curb appeal. Whether you’re tackling it solo or calling in a contractor, understanding the process ensures smarter decisions and better results.
Take your time, plan thoroughly, and don’t skimp on materials. A strong frame is the backbone of a reliable garage door.


