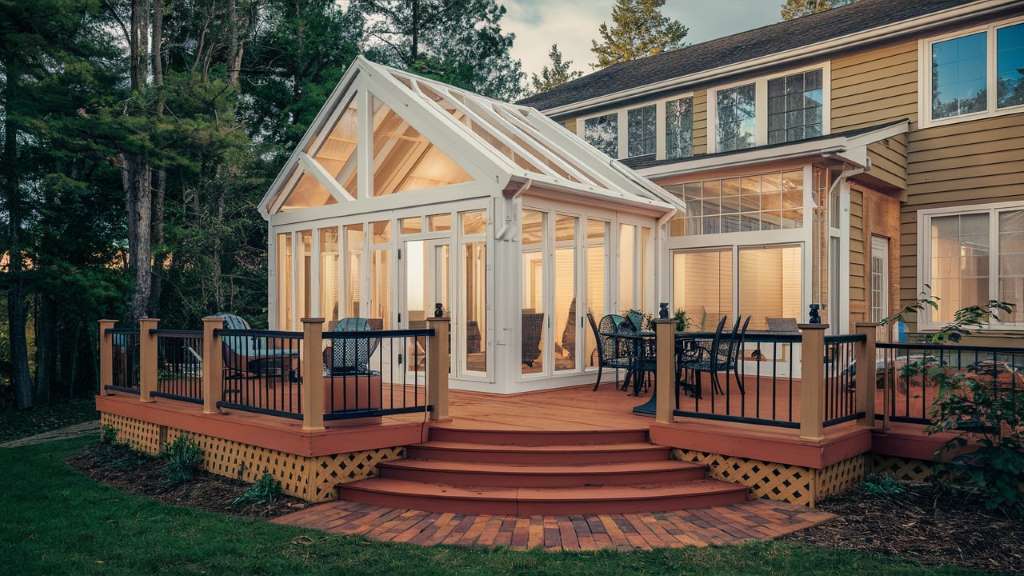
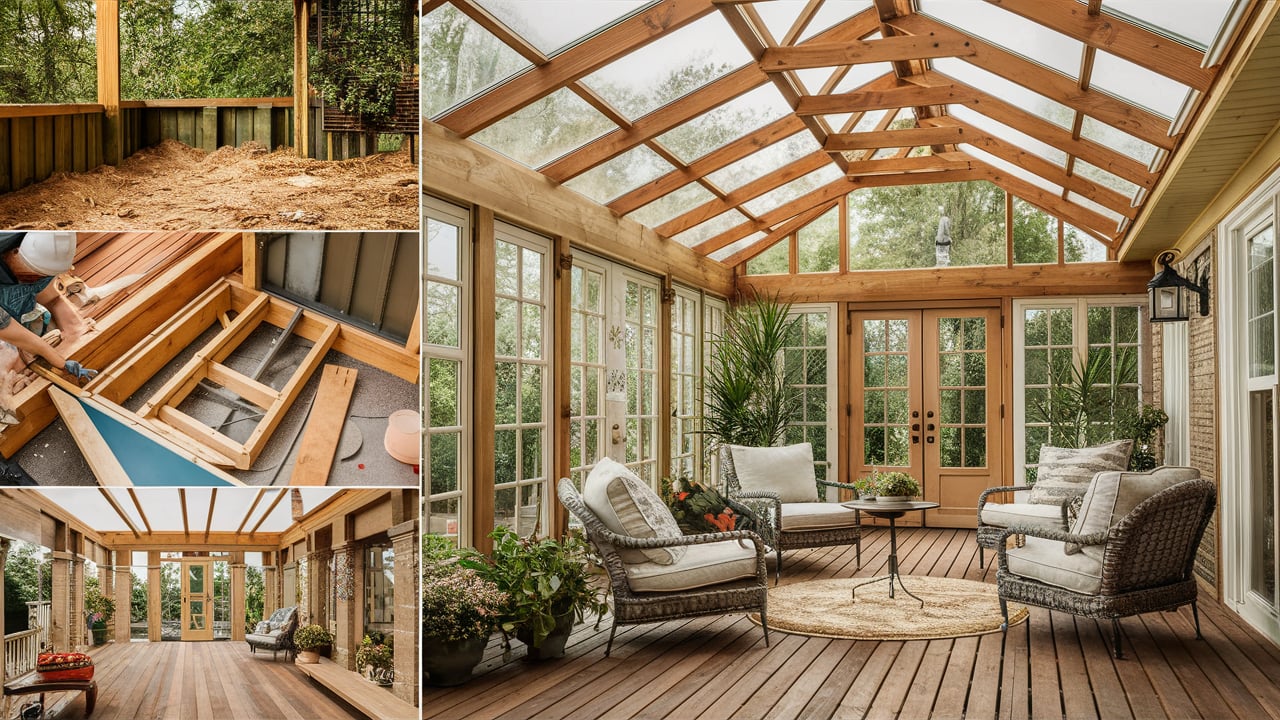
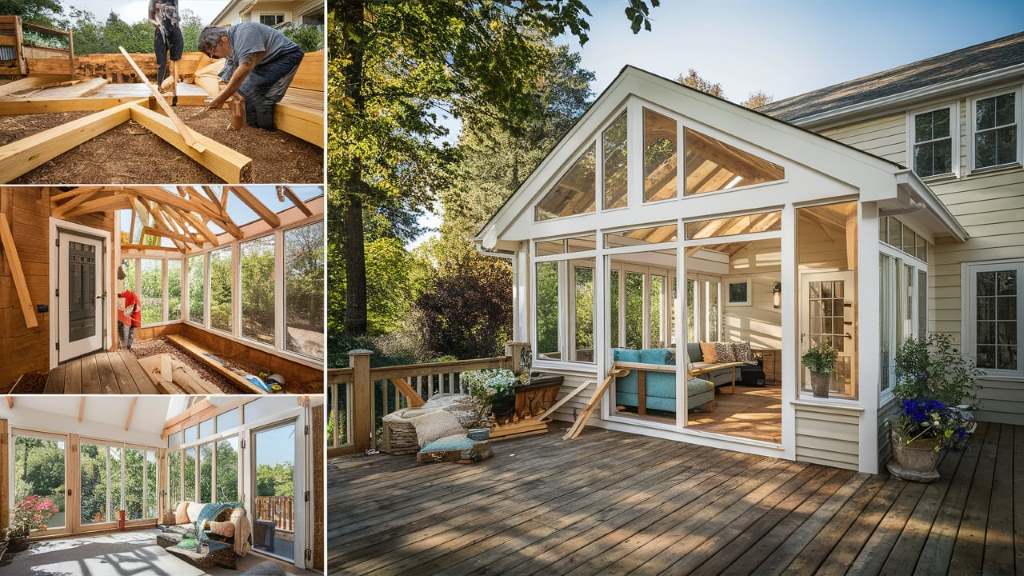
Turning your deck into a sunroom can be an exciting project that adds value to your home, gives you more living space, and allows you to enjoy the outdoors in comfort. Whether you’re looking for a cozy spot to enjoy coffee in the morning or a serene place to bask in the sunset, building a sunroom on your deck is a fantastic way to bring nature indoors. This detailed guide will walk you through the entire process, from planning to construction, ensuring a smooth and successful project.
Benefits of Building a Sunroom on a Deck
Before diving into the construction details, it’s worth highlighting why a sunroom could be a valuable addition. Sunrooms are multi-functional spaces that bridge the gap between the indoors and outdoors. They offer numerous benefits:
- Increased Home Value: A sunroom can boost your property’s value by providing additional usable space.
- Natural Light: Sunrooms maximize natural light, creating a warm and inviting atmosphere.
- All-Season Enjoyment: With the right materials and design, a sunroom can be used throughout the year.
- Outdoor Experience Without the Elements: Enjoy outdoor views without worrying about bugs, rain, or harsh sun.
Step-by-Step Guide on How to Build a Sunroom on a Deck
1. Assess Your Existing Deck
Before starting any project, it’s essential to evaluate your deck’s structural integrity. Ensure that your deck is strong enough to support the additional weight of walls, windows, and a roof. If your deck isn’t structurally sound or can’t handle the weight, you may need to reinforce it or even rebuild certain sections.
A few things to check include:
- Support Posts: These should be sturdy, without any signs of rot or damage.
- Joists and Beams: Ensure that they are appropriately spaced and in good condition.
- Decking Material: The surface should be level and able to support the construction load.
2. Obtain Necessary Permits
Before any construction begins, check with your local building authority to determine what permits are required. Every municipality has different building codes and zoning requirements. You may need to submit your plans for approval to ensure that the sunroom complies with safety standards and regulations.
Permits are typically needed for:
- Structural modifications
- Electrical installations
- Plumbing (if applicable)
Skipping this step could lead to fines or being forced to tear down the sunroom later.
3. Design Your Sunroom
The design phase is where your vision comes to life. You’ll need to decide on several factors such as size, layout, and materials. Some key design considerations include:
- Size: How big do you want your sunroom to be? This often depends on the size of your existing deck. It’s a good idea to ensure that the sunroom doesn’t take up the entire deck so you still have some outdoor space.
- Walls: Will you use full glass walls for maximum sunlight, or do you prefer partial walls with windows? Consider insulated windows to maintain a comfortable temperature throughout the year.
- Roof: You can opt for a traditional roof or a glass roof to let in more light. Keep in mind that a glass roof may require additional reinforcement.
- Climate Control: Decide if you’ll need heating, air conditioning, or ceiling fans to make the space comfortable year-round.
4. Select the Right Materials
Choosing the right materials is crucial for the longevity and comfort of your sunroom. Here are some material options to consider:
- Frame Materials: Aluminum, wood, or vinyl are commonly used for sunroom framing. Wood offers a classic, warm look but requires more maintenance, while aluminum and vinyl are durable and low-maintenance.
- Windows: Opt for double-paned, insulated windows to improve energy efficiency. You may also want to consider tinted or UV-protective glass to minimize heat in the summer months.
- Roofing: Traditional roofing materials like shingles or metal roofing provide durability, but polycarbonate panels or glass roofs allow more light to enter the space.
5. Reinforce the Deck
If your existing deck wasn’t initially designed to hold the weight of a sunroom, you’ll need to reinforce it before construction begins. Reinforcements can include:
- Adding More Support Posts: This may involve installing additional posts or replacing current ones with stronger materials.
- Strengthening Joists and Beams: Consider adding more joists or using steel joist hangers to ensure the deck can support the added weight.
6. Build the Foundation
Once your deck is ready to support the structure, you’ll need to lay the foundation for the sunroom. This may involve:
- Installing Subflooring: This ensures that the floor of your sunroom is even and properly insulated.
- Framing the Walls: Use pressure-treated wood or other durable materials to frame the walls of your sunroom. Make sure the framing is level and secure.
- Adding Insulation: Proper insulation in the walls and floor will help regulate the temperature inside the sunroom.
7. Install Windows and Doors
Installing the windows and doors is one of the most exciting steps, as it transforms the structure into a true sunroom. Windows can be sliding, fixed, or casement style depending on your design preferences. Ensure that the windows and doors are properly sealed to prevent drafts and leaks.
8. Roofing the Sunroom
The roof is one of the most important aspects of your sunroom. A well-constructed roof will protect the interior from the elements while allowing natural light to pour in. You may opt for:
- Traditional Roof with Shingles: This matches the style of many homes and offers excellent durability.
- Glass Roof Panels: These provide maximum sunlight but require more maintenance and may need additional structural support.
- Skylights: If you want a solid roof but still crave sunlight, skylights are a great compromise.
Make sure the roof is watertight and properly insulated to prevent heat loss during colder months.
9. Electrical Work and HVAC (Optional)
If you plan on using your sunroom year-round, adding electrical outlets and installing a heating or cooling system is a must. You might want ceiling fans for circulation or even a small HVAC unit to regulate temperature. Hire a licensed electrician to ensure everything meets code and is safely installed.
- Ceiling Fans: Provide air circulation during warmer months.
- Lighting Fixtures: Overhead lighting or accent lights can make the space usable even after sunset.
- Heaters: Electric baseboard heaters or a small HVAC unit can extend the usability of your sunroom into the winter.
10. Finishing Touches
Once the structural elements are in place, it’s time for the finishing touches. Consider installing:
- Flooring: Choose durable, weather-resistant flooring like tile, vinyl, or engineered wood that can handle exposure to sunlight and moisture.
- Painting and Staining: If your frame is wood, be sure to stain or paint it to protect it from the elements. You can also paint the interior to match your home’s décor.
- Furniture and Décor: Select furniture that suits the vibe of your sunroom, whether it’s a casual, cozy retreat or a more formal dining area.
Common Mistakes to Avoid When Building a Sunroom on a Deck
Skipping Permits: Failing to get the proper permits could result in costly fines or forced removal of the structure.
Ignoring Weather Considerations: If your sunroom isn’t properly insulated or ventilated, it can become too hot in the summer or too cold in the winter, making it unusable.
Using Poor-Quality Materials: Skimping on windows or using untreated wood can result in higher maintenance costs and a shorter lifespan for your sunroom.
Inadequate Deck Support: A sunroom adds significant weight to your deck. Without proper reinforcements, you risk structural damage or collapse.
Conclusion
Building a sunroom on a deck is a rewarding project that not only increases your living space but also enhances the beauty and functionality of your home. By following this step-by-step guide, you can successfully create a cozy, light-filled retreat that you’ll enjoy year-round. Whether you handle the project yourself or hire professionals, careful planning and attention to detail will ensure a smooth process and a stunning final result.


