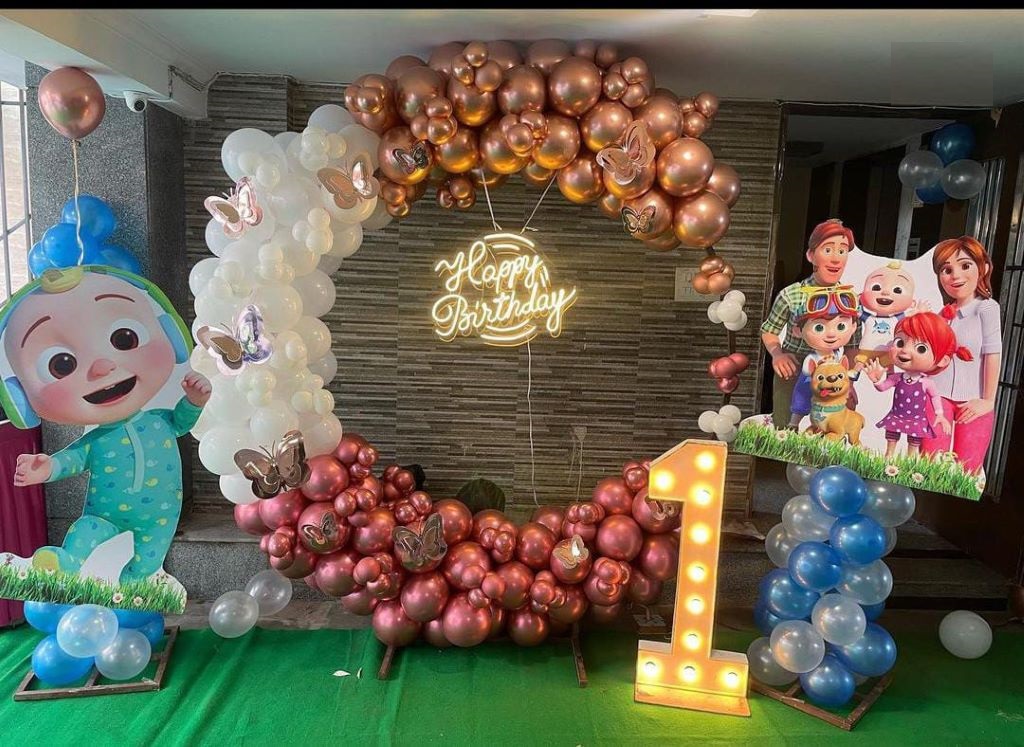
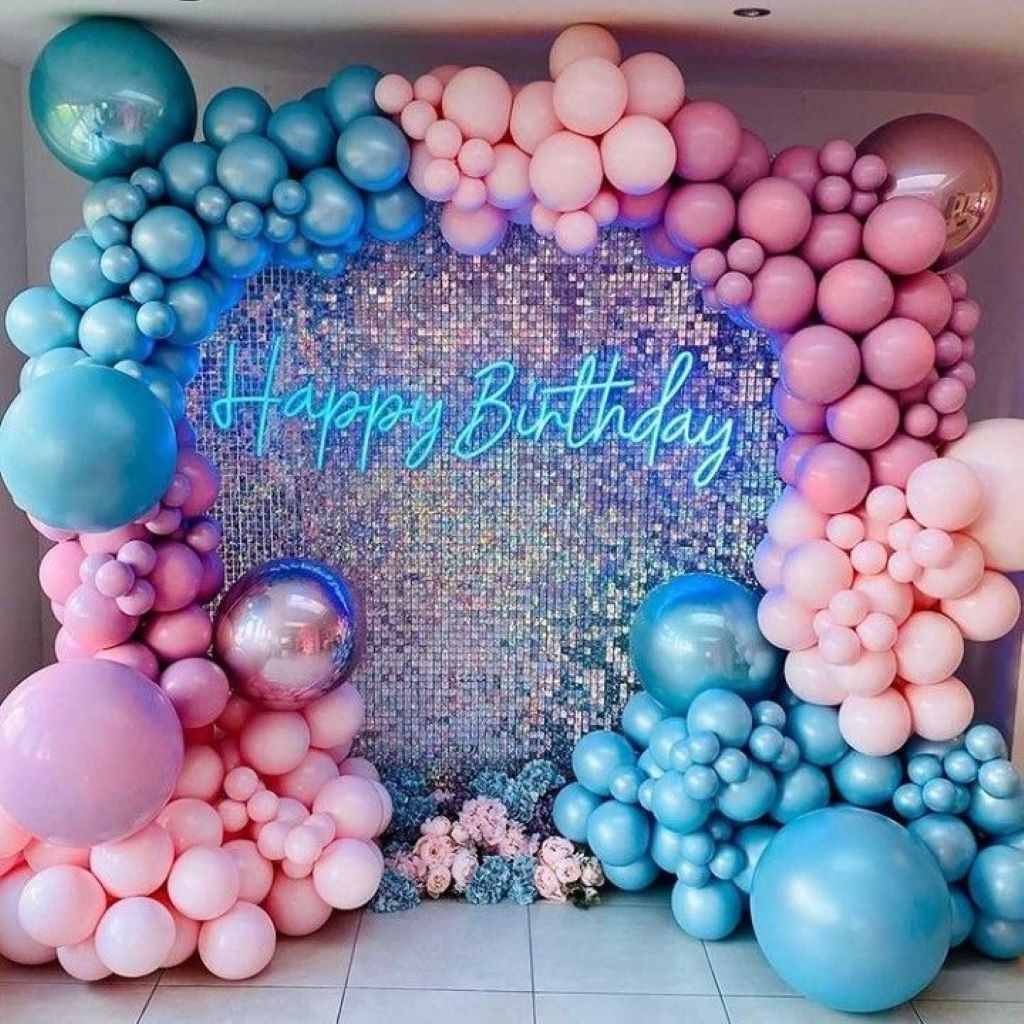
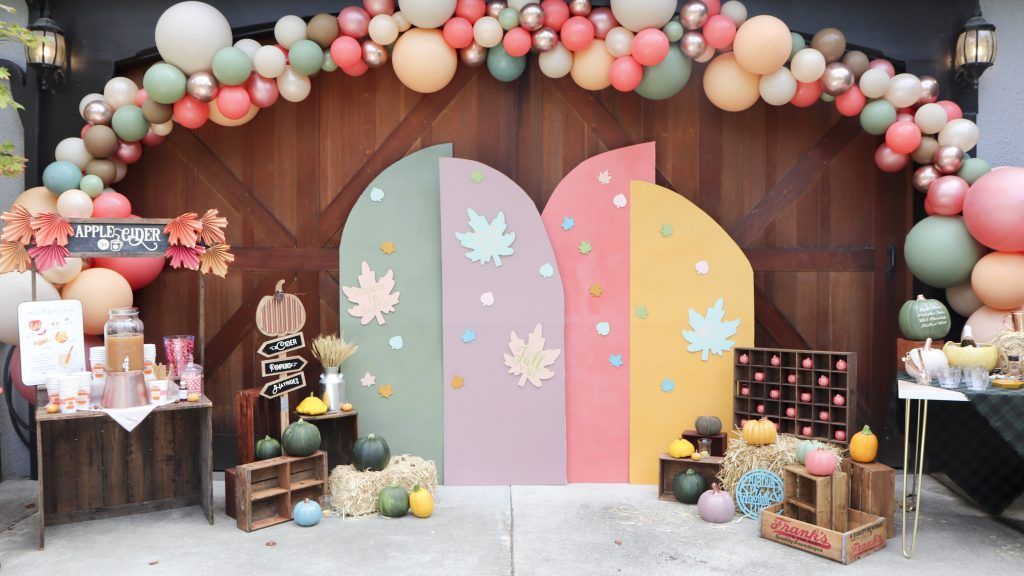
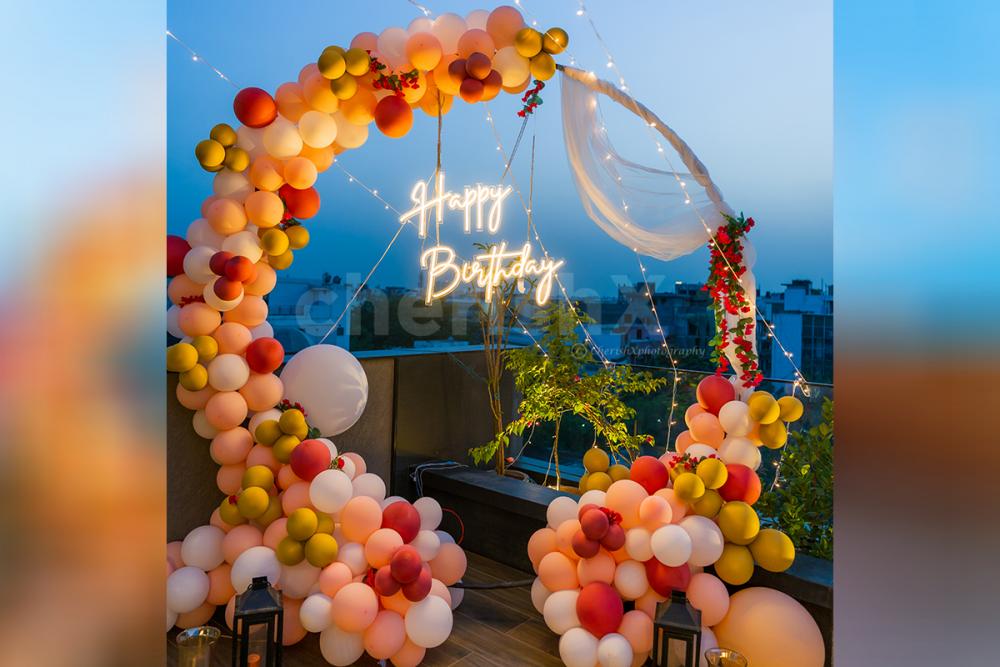
Planning a birthday party is always exciting, but figuring out the decor can be stressful. A backdrop stand is the perfect focal point to help pull your party decor together and wow your guests with a gorgeous, festive display. I’ll walk through how to make a PVC backdrop stand, plan your backdrop, and decorate it to match your party theme. With some strategic planning and fun, creative touches, your backdrop stand DIY is sure to knit the whole party together in style! Let’s get started decorating an eye-catching banner your guests won’t soon forget.
Making the Backdrop Stand
We need something to hang the backdrop on that is durable and can stand up on its own. PVC makes the ideal lightweight, budget material for crafting a customized banner frame. All you need are:
Supplies
- 1 1/2′′ PVC Pipes – 10 feet total
- 4 PVC Elbow Joints
- 4 PVC Tee Joints
- PVC Glue
Assembly
Cut two 5 foot pipes. Connect each end to an elbow joint bent at 90 degrees. These are the upright stand poles.
Cut two 2 foot pipes. Attach a tee connector in the center of each. Then connect the ends of the 2 foot pipes to the elbow joints at the top of the stand poles.
Connect another tee joint to the center of each 2 foot crossbar to face straight frontwards and backwards. These will hold the banner top and bottom.
The structure is complete! Glue all joints firmly for sturdy long-lasting bond.
Designing the Backdrop
Now the fun begins. You get to brainstorm backdrop ideas to dress up your theme. Consider complementing colors, visually interesting focal points, personalized elements, and party specifics like the birthday person’s hobbies and interests.
Gather inspiration from:
- Pinterest theme boards
- Retail party supply stores
- Craft and fabric stores
- Party magazines/websites
Choose easy materials to work with like thick paper, fabric squares, plastic tablecloths and streamers. Have more advanced sewing skills? Design showstopper fabric banners.
Backdrop stand DIY for affordability and customization options galore. The possibilities are endless when you make it yourself.
Decorating the Backdrop Frame
Carefully measure frame dimensions to plan the backdrop size. Leave at least 2 extra inches of material to provide fullness. Consider layers for dimension:
Layer 1: Base Material
The base ties it all together visually. For most themes, choose a solid color that pops like red, turquoise, lime green or gold.
For jungle or luau themes, opt for Hawaiian prints or animal patterns as the base instead.
Use materials such as thick wrapping paper, plastic tablecloths, fabric or faux leaves/grass for unique looks. Drape evenly across the backdrop frame rods attaching top and bottom with tape, command strips or creative ties.
Layer 2: Accent Details
Elevate the backdrop with accents and images supporting the theme. Hand-paint, stamp or glue on letters, patterns and textures.
Some examples:
- Sports Theme: Felt team logo cut-outs or hand-painted mascot
- Mermaid Theme: Felt or metallic fish scales, beads, glittery tulle netting
- Unicorn Theme: Rainbow ribbons, glitter, cloth horn shapes
Layer colors, fabrics and materials playing with dimension and visual delight. Express your creativity embellishing to your heart’s content!
Layer 3: Finishing Touches
Final embellishments make it shine:
- Curtain string lights
- Flowers, garlands
- Themed scene setters, props
- Streamers, tassels, pom poms dangling along frame rods
- Special photos: birthday child, friends
Stand back and admire your handcrafted masterpiece! A backdrop stand DIY takes an ordinary party to extraordinary new heights.
Backdrop Stand DIY Ideas
1. PVC Pipe Stand:
- Materials: PVC pipes, connectors, clamps, saw, pipe cutter, tape measure.
- Instructions: Cut PVC pipes to desired length, assemble using connectors, secure with clamps.
- Pros: Affordable, sturdy, customizable.
- Cons: Requires tools, may be heavy.
2. Wooden Dowel Stand:
- Materials: Wooden dowels, rope, drill, saw, sandpaper, paint (optional).
- Instructions: Drill holes near ends of dowels, thread rope through holes, assemble into desired shape, tie rope to secure.
- Pros: Natural aesthetic, lightweight, easy to assemble.
- Cons: Not as sturdy as PVC, may require paint for desired look.
3. Tripod Stand:
- Materials: Camera tripod, fabric, clamps, string.
- Instructions: Attach fabric to tripod legs with clamps, drape fabric over top of tripod.
- Pros: Easy to set up, portable, adjustable height.
- Cons: May not be tall enough for all backdrops, limited weight capacity.
4. Ladder Stand:
- Materials: Step ladder, fabric, rope, hooks.
- Instructions: Attach hooks to top of ladder rungs, hang fabric from hooks, drape fabric over ladder.
- Pros: Affordable, readily available, adjustable height.
- Cons: May not be sturdy enough for heavier backdrops, limited backdrop width.
5. Tension Rod & Curtain Rod Stand:
- Materials: Tension rod, curtain rod, fabric, clamps, hooks.
- Instructions: Extend tension rod to desired width, attach curtain rod to ends using clamps, hang fabric from curtain rod.
- Pros: Easy to set up, no tools required, adjustable width.
- Cons: Not very tall, may not be sturdy enough for heavier backdrops.
6. Pipe & Drape Stand:
- Materials: Curtain pipes, connectors, drape supports, fabric, clamps.
- Instructions: Assemble pipe and drape system according to manufacturer’s instructions, hang fabric from drape supports.
- Pros: Professional appearance, sturdy, adjustable height and width.
- Cons: More expensive than other options, requires more setup time.
7. Command Hook Stand:
- Materials: Command hooks, strong string, fabric, tape measure.
- Instructions: Attach Command hooks to wall in desired shape, string line between hooks, hang fabric from line.
- Pros: No tools required, easy to remove, leaves no damage on walls.
- Cons: Limited size and weight capacity, not suitable for all backdrops.
Hanging the Backdrop
Locate studs in the wall with a stud finder and firmly screw large eye hooks spaced every 2 feet across the top wood beam or wall area. Tie firm knots in decorative rope, twine or ribbon. Loop through the eye hooks and backdrop frame rod ends for a pretty draped effect.
The backdrop stand is freestanding, but attaching the top adds stability and an elegant floating illusion. Drape swags of fabrics or tinsel garlands to further disguise the stand and soften the edges.
Light up your party scene right with string bulb backdrop lighting or floor lamps bathing it in a flattering glow.
With balloons, table decor and treats surrounding your custom focal point I promise the “wow”s will last all party long!
Frequently Asked Questions
What if I’m not crafty or creative?
No worries! You’d be surprised what you can do with simple, fun materials like tissue paper, streamers and scene setter rolls paired with balloon garlands. Purchase supplies supporting your theme and experiment arranging until you love the look.
Where do I display the backdrop?
Popular backdrop locations are the main party area, photo booth corner, dessert table background or behind the head table/chair. Consider the room layout and where you want to draw guest attention.
What if my party is outdoors?
Outdoor spaces are beautiful backdrops themselves typically. You can still decorate a stand with flowering vines, string lights and lightweight decorative touches. Rent canopies to shade dessert tables or hang mini backdrop frames as photo booth props.
How do I transport and store a big backdrop?
Carefully roll and wrap sections around empty gift wrap rolls or cardboard tubes to avoid folds and creases. Store in a protective bag or bin. For easy transport, create backdrop pieces you can assemble on site via velcro strips, snaps or ties.
Is it safe to hang one myself?
Yes, with proper precautions. Use heavy duty hooks sized for the weight. Follow package instructions carefully and hook to wall studs only for secure support. Consider asking a family member or friend for assistance to be extra safe.
Conclusion
Decorating your own free-standing backdrop stand for a birthday extravaganza isn’t hard, it just takes a little backdrop stand DIY dedication. With creativity and enthusiasm, you can build an affordable PVC frame and decorate showstopping banner displays to match any party personality and theme.
Layer colors, fabrics, textures and accents for dimension, visual interest and lively spirit. Embracing the philosophy that one is never too old to have a party, infuse your celebration with timeless joy by personalizing it with photos, inside jokes, and flair that showcase the special guest of honor—creating a handmade backdrop that will make you high five yourself for the meeting decor magic even before the festivities begin.


