That sinking feeling when you discover a dent in your shiny refrigerator door is all too familiar. Whether it’s from a rogue shopping cart, a playful pet, or a careless bump, these eyesores can detract from your kitchen’s aesthetic. Dents can affect not only the appearance but also the integrity of the metal in refrigerator. But before you despair, take heart! Fixing a dent in your fridge door might be easier than you think. This guide will walk you through various DIY methods, from simple solutions to more involved techniques, so you can restore your fridge to its former glory.
Understanding the Enemy: Types of Dents
Before diving into repairs, it’s crucial to assess the damage. Dents generally fall into two categories:
- Shallow Dents: These are minor indentations that haven’t creased or significantly damaged the fridge’s finish.
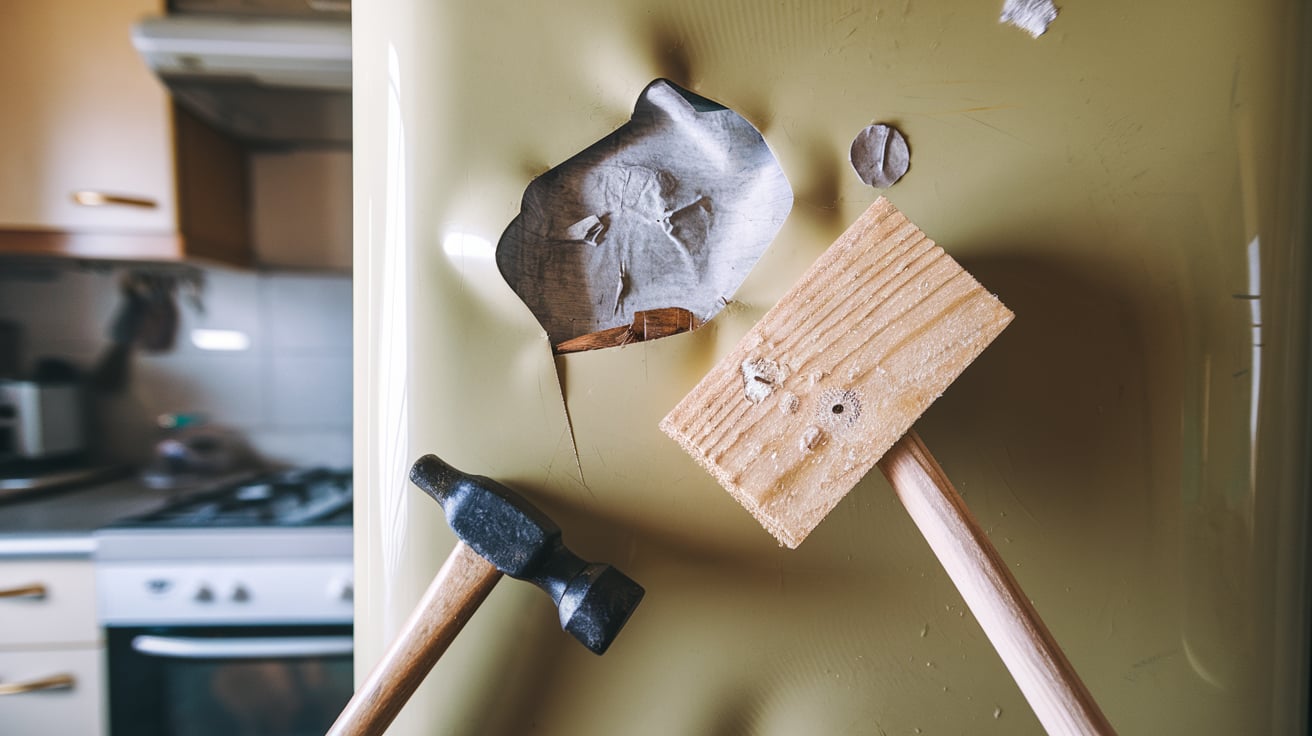
- Deep Dents: These are more severe, often involving creases or paint damage.
The repair method you choose will depend on the type of dent you’re dealing with. For instance, minor dents may benefit from techniques like paintless dent repair, while larger dents might require more invasive methods. It’s always a good idea to assess the damage carefully and consider consulting professionals or resources that specialize in dent repairs. To gain deeper insights into various repair methods, you might want to explore Wozazimbabwe blog, which offers valuable information on automotive care and maintenance.
Method 1: The Heat and Cold Treatment
This method exploits the principles of thermal expansion and contraction to pop out shallow dents.
What you’ll need:
- Hairdryer or heat gun
- Dry ice (optional)
- Protective gloves
Procedure:
- Apply heat: Using your hairdryer or heat gun, apply heat directly to the dent for a minute or two. Move the heat source evenly to avoid overheating any one spot. The heat will cause the metal to expand.
- Apply cold: If you have dry ice, wrap it in a soft cloth and apply it to the dent. The extreme cold will cause the metal to contract rapidly. If you don’t have dry ice, simply let the heated area cool down naturally.
- Repeat: Repeat the heating and cooling process a few times. The expansion and contraction may be enough to pop the dent out. Additionally, don’t forget to replace the fridge water filter regularly for optimal performance and clean water.
Method 2: Suction Power to the Rescue
For small to medium-sized dents, suction can be your best friend.
What you’ll need:
- Dent puller kit (available online or at auto parts stores)
- Hot glue gun
- Protective gloves
Procedure:
- Prepare the dent puller: Choose a suction cup from the kit that’s slightly larger than the dent.
- Apply hot glue: Apply a generous amount of hot glue to the suction cup.
- Attach and pull: Quickly place the suction cup onto the center of the dent and press firmly. Allow the glue to cool and harden. Once set, gently pull the dent puller until the dent pops out.
- Clean up: Carefully remove the suction cup and any residual glue.
Method 3: The Plunger Method
Believe it or not, a simple toilet plunger can sometimes work wonders on shallow dents.
What you’ll need:
- Cup plunger (not a flange plunger)
- Warm water
Procedure:
- Prepare the area: Lightly dampen the dent and the rim of the plunger with warm water to create a good seal.
- Apply the plunger: Place the plunger over the dent, ensuring a tight seal.
- Push and pull: Push and pull the plunger vigorously. The suction created may be enough to pull out the dent.
Method 4: Filling and Painting (for Deep Dents)
For deeper dents with creases or paint damage, you’ll need a more involved approach.
What you’ll need:
- Automotive body filler (Bondo)
- Putty knife
- Sandpaper (various grits)
- Primer
- Appliance touch-up paint
- Painter’s tape
- Protective gloves
Procedure:
- Prepare the area: Clean the dented area thoroughly with soap and water. If there’s any loose paint, gently remove it.
- Apply body filler: Following the manufacturer’s instructions, mix the body filler and apply it to the dent using a putty knife. Overfill the dent slightly to allow for sanding.
- Sand and shape: Once the filler dries, sand it down using progressively finer grits of sandpaper until the surface is smooth and flush with the surrounding area.
- Prime and paint: Clean the area to remove any sanding dust. Apply painter’s tape to protect the surrounding areas. Prime the repaired area and allow it to dry. Then, carefully apply appliance touch-up paint that matches your fridge’s finish. Apply multiple thin coats for a smooth, even finish.
Important Notes:
- Safety First: Always wear protective gloves when working with chemicals or tools.
- Test in an inconspicuous area: Before applying any product to the dent, test it in a hidden area of the fridge to ensure compatibility and color match.
- Patience is key: Don’t rush the process. Take your time and follow the instructions carefully for the best results.
- Professional help: If you’re uncomfortable with any of these methods or if the dent is severe, it’s best to contact a professional appliance repair technician.
Read Also: Why Is My Fridge Warm and Not Cold?
Preventing Future Dents
While accidents happen, there are steps you can take to minimize the risk of future dents:
- Careful placement: Position your refrigerator away from high-traffic areas and potential hazards.
- Protective measures: Consider using appliance bumpers or magnetic door protectors to cushion against impacts.
- Gentle handling: Avoid slamming the door or leaning heavy objects against the fridge.
By following these tips and techniques, you can tackle those pesky fridge door dents with confidence and restore your kitchen’s pride and joy to its original splendor. Remember, a little DIY spirit can go a long way in keeping your appliances looking their best!


