Are you tired of dealing with leaky showers, water damage, and costly repairs? It might be time to consider installing a hot mop shower pan yourself! In this comprehensive guide, we’ll walk you through the entire process in a conversational style, as if you had a friend helping you out. We’ll use simple language, provide helpful tips, and answer any questions you might have along the way. Let’s dive right in!
What is a Hot Mop Shower Pan?
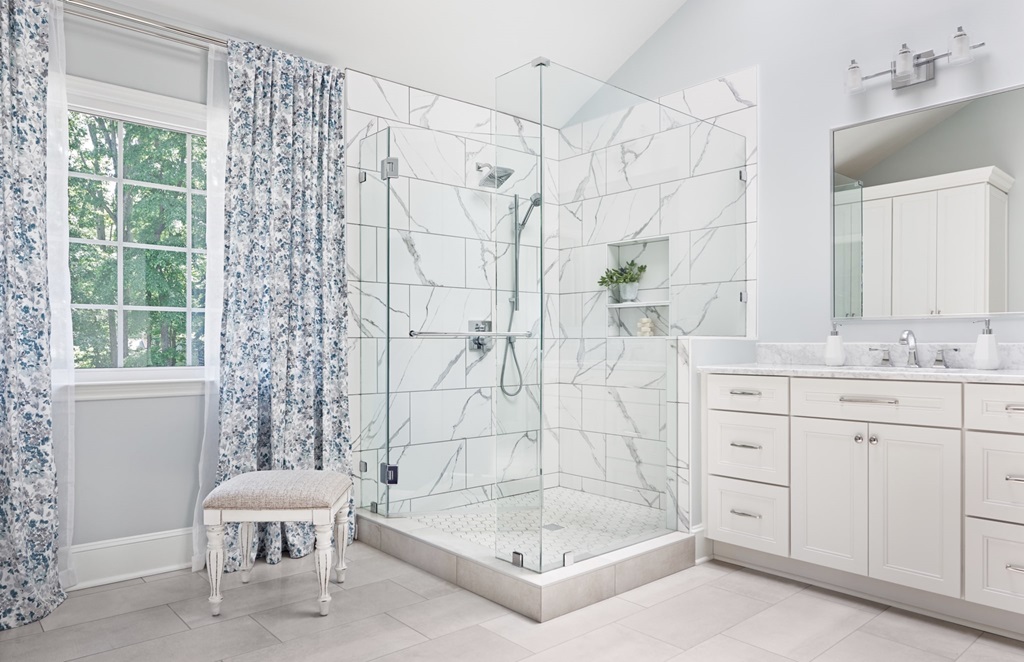
Before we get started, let’s make sure we’re on the same page. A hot mop shower pan is essentially a waterproof barrier that’s installed beneath your shower floor tiles. It’s a crucial component in preventing water from seeping into the subfloor and causing structural damage over time. Think of it as an invisible shield that keeps your bathroom dry and damage-free.
Tools and Materials You’ll Need
To get started, you’ll need some basic tools and materials. Here’s a list to help you prepare:
Tools:
- Notched trowel
- Utility knife
- Mixing bucket
- Drill and mixing paddle
- Level
- Measuring tape
- Safety glasses and gloves
- Sponge
- Grout float
- Rubber float
Materials:
- Shower liner (also known as a PVC or CPE liner)
- Mortar mix
- Drain assembly (with clamping ring and weep holes)
- Pre-slope mortar mix
- Screws
- Nails
- Tiling materials (tiles, adhesive, grout)
- Shower curb material (wood or concrete blocks)
- Waterproofing membrane (optional but highly recommended)
The DIY Hot Mop Shower Pan Process
Now that you’ve gathered your tools and materials, let’s break down the installation process into manageable steps.
Step 1: Preparing the Subfloor
Start by ensuring that your subfloor is clean, level, and free from any debris. Use a level to check for any uneven areas and make necessary adjustments. You want a solid, stable base for your shower pan.
Step 2: Install the Drain Assembly
Follow the manufacturer’s instructions to install the drain assembly in the center of your shower floor. Make sure it’s securely fastened and level with the subfloor.
Step 3: Build the Shower Curb
The shower curb is essential for keeping water within the shower area. You can use wood or concrete blocks to create a sturdy curb. Make sure it’s level and properly sealed to the subfloor.
Step 4: Install the Pre-Slope Mortar
Before laying the shower liner, create a slight slope towards the drain using the pre-slope mortar mix. This ensures that water will flow towards the drain properly. Use your trowel to shape the slope evenly.

Step 5: Install the Shower Liner
Now, it’s time to install the shower liner (PVC or CPE). Lay it over the pre-slope mortar, making sure it covers the entire shower floor and extends up the walls by a few inches. Use nails or screws to secure it to the walls, making sure to keep the liner wrinkle-free.
Step 6: Hot Mopping
This is the critical step where the hot mop of a shower pan gets its name. Heat asphalt to a liquid state and apply it evenly over the shower liner using a mop or broom. This process forms a waterproof barrier that protects your shower from leaks. Ensure that the asphalt extends up the shower walls as well.
Step 7: Final Slope Mortar
Once the hot mop has cooled and solidified, add another layer of mortar mix to create the final slope towards the drain. Smooth it out evenly using your trowel.
Step 8: Waterproofing Membrane (Optional)
For extra protection, you can apply a waterproofing membrane over the hot mop. This additional layer helps ensure a watertight seal.
Step 9: Tile Installation
After everything has dried and cured, you can start tiling your shower floor and walls. Follow the manufacturer’s guidelines for your specific tile and adhesive.
Step 10: Grouting
Apply grout between the tiles using a grout float. Wipe away excess grout with a damp sponge, and let it dry according to the manufacturer’s instructions.
Frequently Asked Questions (FAQs)
FAQ 1: Is a hot mop shower pan better than other waterproofing methods?
The pans have been used for decades and are known for their durability and effectiveness. They provide a robust waterproof barrier that can withstand the test of time, making them a popular choice.
FAQ 2: Can I install a hot mop of a shower pan myself if I’m not experienced in DIY projects?
While installing a shower pan can be a DIY project, it’s essential to have some level of construction experience and knowledge of the process. If you’re not comfortable with these tasks, it’s advisable to seek the assistance of a professional.
FAQ 3: How long does it take to complete a hot mop shower pan installation?
The time it takes to complete a pan installation can vary depending on your skill level and the size of your shower. On average, it may take a weekend or a few days to complete all the steps, including drying and curing times for mortar and grout.
FAQ 4: Do I need a building permit to install a hot mop shower pan?
Building permit requirements can vary by location, so it’s essential to check with your local building department. In some areas, you may need a permit for this type of project, especially if it involves structural changes or plumbing work.
FAQ 5: Can I use a hot mop shower pan for a bathtub enclosure?
They are primarily designed for showers, but they can also be used for bathtub enclosures with some modifications. You’ll need to adjust the size and shape to fit your bathtub area properly.
In conclusion
Installing a hot mop shower pan is a feasible DIY project if you have the necessary skills and tools. It’s a crucial step in ensuring the longevity and integrity of your bathroom. Remember to take your time, follow the steps carefully, and don’t hesitate to seek professional help if you’re unsure. A properly installed hot mop of a shower pan will keep your bathroom dry and leak-free for years to come.