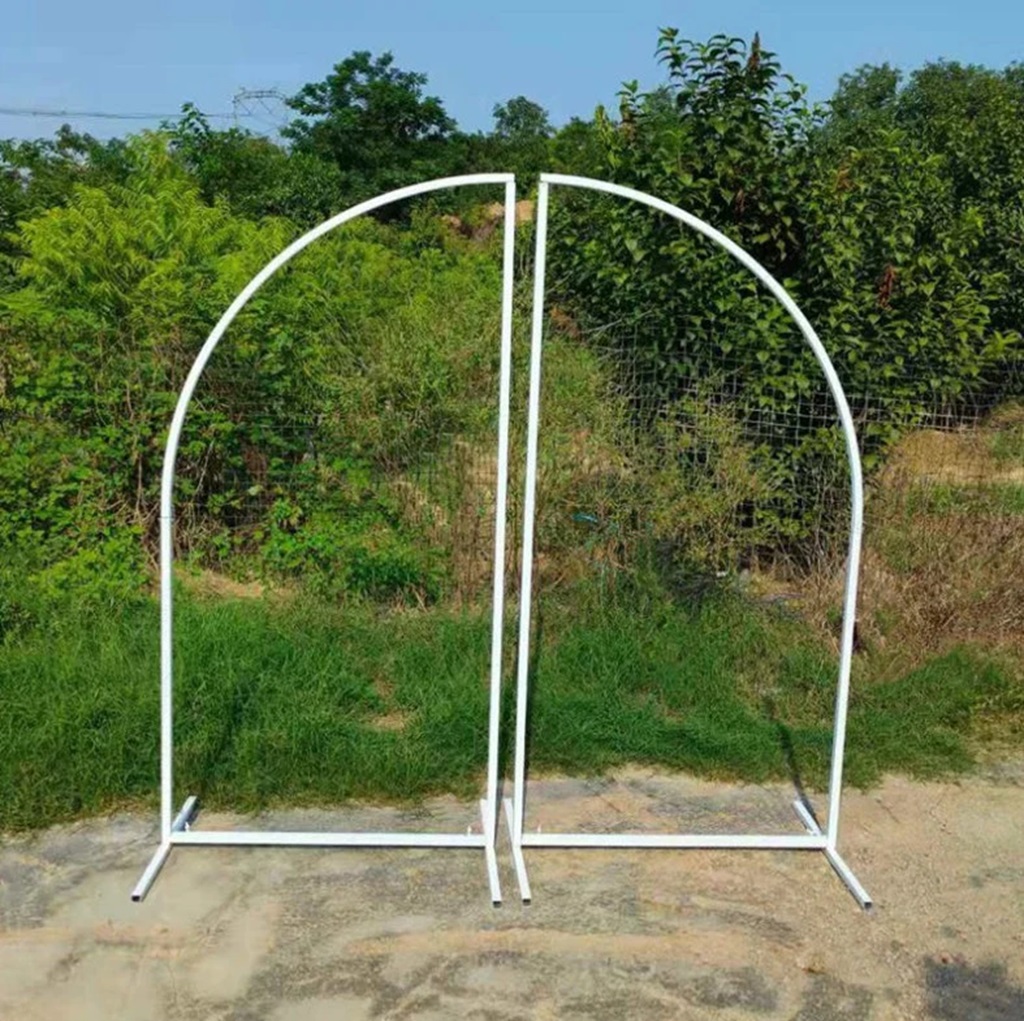
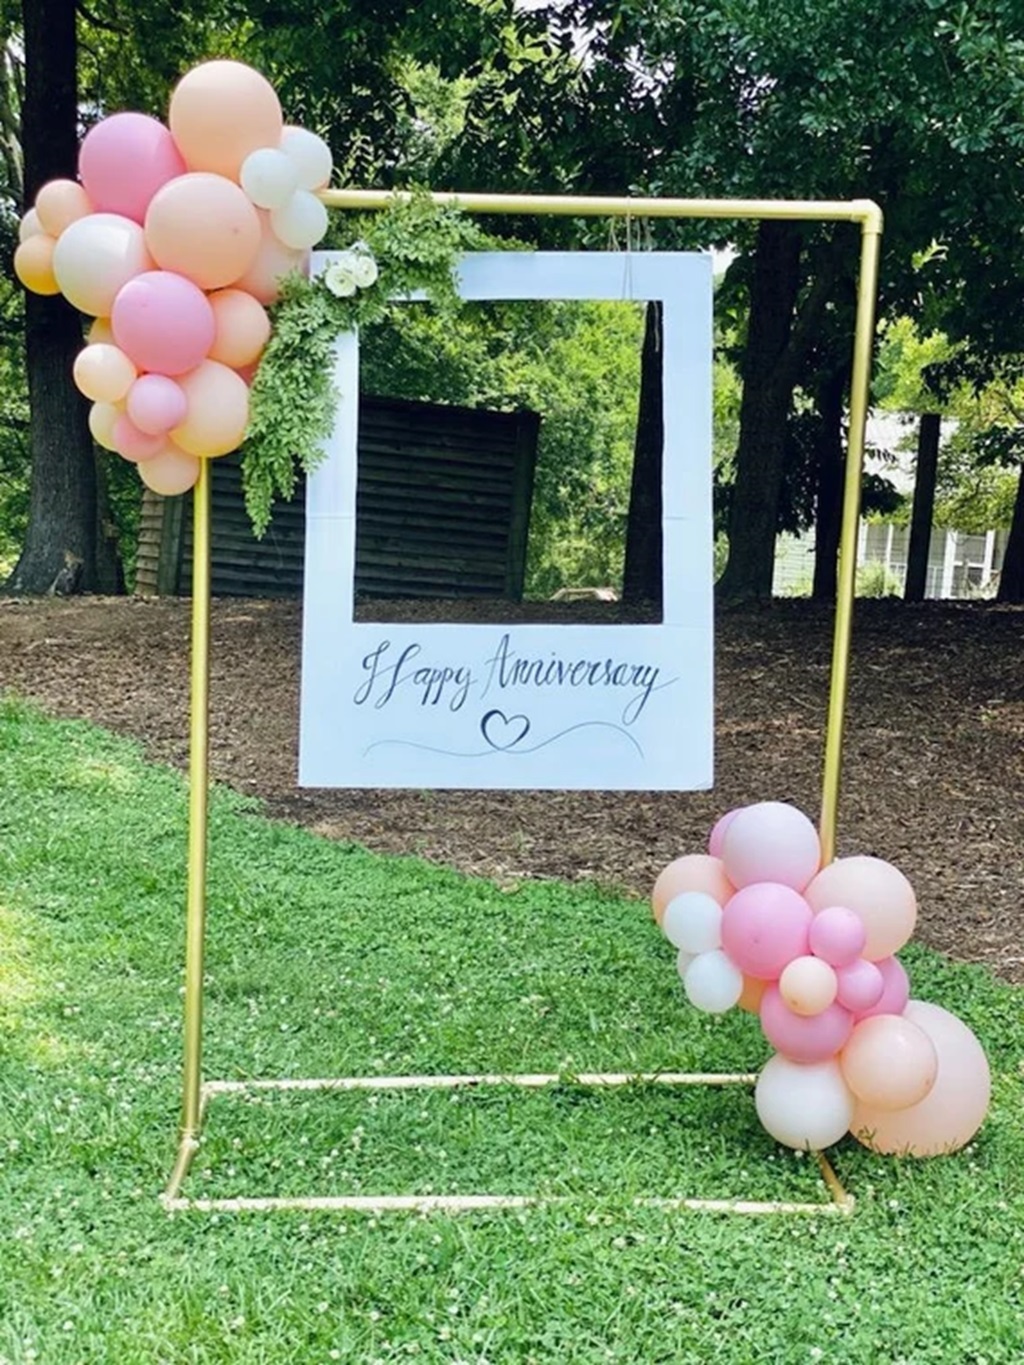
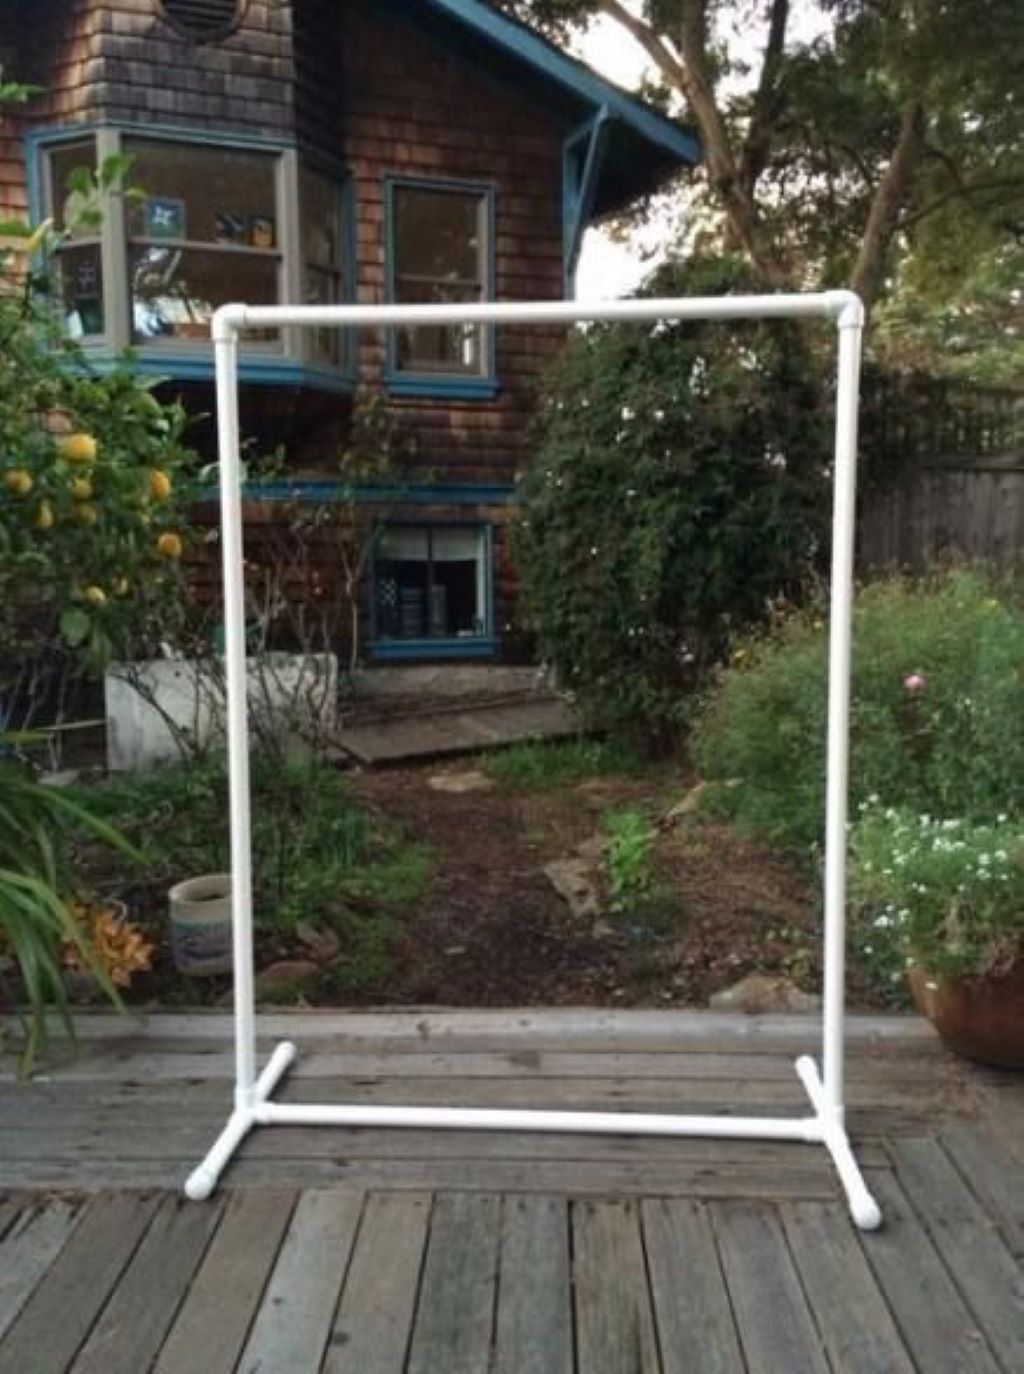
Capturing stunning photos outdoors requires controlling the backdrop and lighting. An inexpensive DIY PVC backdrop stand lets you customize the background. Constructing one is straightforward with some basic tools and materials.
I’ll walk through a complete step-by-step tutorial for assembling a freestanding PVC backdrop support. You’ll learn:
- Benefits of a removable outdoor backdrop stand
- Tools and supplies required
- Cutting the PVC pipe
- Putting it together
- Hanging backdrops
- Transport and storage
With minimal investment, you can build a sturdy 10 x 10 ft framework for backdrops up to 8 x 12 ft. Adjustable side supports accommodate multiple backdrop sizes.
Let’s get started on constructing your own outdoor photography backdrop stand!
Benefits of a DIY PVC Backdrop Stand
Here are the main advantages of having a portable PVC pipe backdrop support structure:
Customization
You can paint or decorate the PVC pipes if desired. And you’ve got total control over the backdrop.
Want a bold graphic print today and a solid color tomorrow? No problem – just swap out your fabric panels.
Removable Backdrops
The stand conveniently holds backgrounds in place without requiring fixed mounting or adhesives. Change themes or swap in new prints anytime.
Portability
Lightweight PVC pipe makes the unit easy to transport and set up in different locations. Much easier than hauling around and erecting bulky backdrop frames.
Durability
Properly constructed from quality materials, a DIY PVC pipe stand will last for years. It’s also low maintenance compared to fabric backdrops.
Affordability
For well under $100, you can build a backdrop stand that rivals more expensive commercial options. The basic frame is reusable – only backdrops get replaced.
Tools and Materials Needed
You’ll need a few essential items to complete this build:
Tools
- Tape measure
- PVC cutter (or hacksaw)
- Cordless drill
- 5/16-inch drill bit
- Utility knife
Materials
- Eight 10-ft sections 1-1/4 inch PVC pipe
- Four 3-way corner elbow fittings
- Eight 4-way cross fittings
- Sixteen 5/16-inch carriage bolts (3 inches long)
- Sixteen 5/16-inch nuts
- Thirty-two 5/16-inch washers
- Backdrop of your choice (8 x 12 ft recommended)
I’ll go over cutting instructions next. For now, grab your tools, PVC pipe, and other supplies.
Cutting the PVC Pipe
With materials in hand, measure and cut the 10-ft PVC lengths:
- Cut two pipes to 126 inches (for the top and bottom)
- Cut two pipes to 89 inches (for the sides)
- Cut four pipes to 108 inches (for the vertical corner supports)
This leaves eight leftover pieces that won’t get used.
Use a PVC cutter for straight cuts at right angles. Go slowly for best results. Otherwise a hacksaw with a fine tooth blade works too.
Double check all pieces for accuracy before assembly. Having uniformly cut pipes ensures everything aligns properly.
Assembling the Backdrop Stand Frame
With pieces cut, it’s time for assembly using corner elbow and 4-way cross fittings:
Step 1: Build Top and Bottom Base Frames
Take two of the 126-inch lengths and push them into two 3-way corner elbows. Insert the 89-inch side pieces into the corner elbows to form a rectangular base.
Repeat to create matching top and bottom frames.
Step 2: Add Vertical Supports
First, take two of the 108-inch vertical posts and make sure they are free of any debris or damage. Then, carefully insert them into the 4-way cross fitting, ensuring that they are fully seated and securely in place. Repeat this process with the other two posts so that you have four corner supports ready to go.
Next, take the top frame of your backdrop structure and locate the elbow fittings on either end. Slide the free ends of each corner support into the open ends of the elbow fittings, making sure that they fit snugly and securely. Repeat this process with the bottom frame of the structure.
Once you have inserted all four corner supports into the elbow fittings on both the top and bottom frames, you can step back and admire your work! You now have a freestanding, rigid backdrop structure that is ready to be used for your next event or photo shoot.
Step 3: Install Stabilizing Supports
To provide stability and prevent any wobbling, drill guide holes for carriage bolt fasteners on the two side frames (where verticals meet horizontals).
At both the top and bottom of each side, mark drill holes approximately 2 inches from the elbow joints. Make them straight and level with each other.
Drill matching 5/16-inch holes on the vertical corner posts as well.
Insert bolts through the aligned holes, add a washer and nut, and securely tighten at all four locations.
The backdrop frame now has adequate structural integrity for hanging fabric backdrops!
Attaching Your Backdrop
With the stand fully assembled, the next step is mounting your backdrop material. Here are some options:
Clamps
Spring clamps along the top front horizontal pipe work nicely to grip thinner backdrop fabrics. Use enough clamps ensure the fabric hangs flush and doesn’t pull away from the top.
Shower Curtain Hooks
For heavier backdrops, shower curtain hooks loop easily over the top horizontal pipe. Attach them along the top edge, evenly spacing them every 18 inches or so.
Industrial Background Supports
Specialty spring-loaded background supports make attaching and removing backdrops a breeze. Just slide both top corners of the fabric into the gripper channels and adjust to size.
Transportation and Storage
The PVC stand conveniently breaks down for travel or off-season storage:
Transporting
To disassemble the structure, start by disconnecting the corner supports. This will allow you to break the structure down into five separate pieces, including the two bases, two sides, and four corner posts. Each of these components has been designed with compactness in mind, ensuring that they can fit into most vehicles for easy transportation. So, if you need to move the structure to a different location, you won’t have to worry about any bulky or heavy pieces that may be difficult to transport. Simply disassemble the structure and pack the components neatly into your vehicle, and you’ll be ready to go in no time.
Storage
Store the disassembled unit vertically against a wall in your garage or shed to save space. Be sure to completely support both ends so it doesn’t fall over.
Or you can hang horizontal pieces from ceiling hooks and lean the corner posts nearby. Just take caution not to dent or crease the pipes over time.
When ready to use again, simply reassemble in minutes!
Conclusion
As you can see, building DIY PVC backdrop stand is straightforward. For less than $100 and basic DIY skills, you’ll have professional-looking outdoor photo shoots.
The stand conveniently breaks down for travel or storage when not in use. And you can customize backdrops since they are removable.
Unleash your creativity in crafting a personalized backdrop stand for a birthday party DIY style. Let your imagination run wild as you design eye-catching backgrounds, perfect for capturing stunning portraits, senior photos, engagement shots, or any outdoor inspiration that comes your way!
So grab your tools and materials and start constructing an outdoor photography backdrop stand this weekend.
Happy shooting!
FAQs
Q: What size PVC pipes should I use?
A: 1-1/4 inch diameter schedule 40 PVC pipes ensure adequate strength while keeping the frame lightweight.
Q: Can I build an 8×8 stand instead of 10×10?
A: Yes, just adjust horizontal pipe lengths to 96 inches instead of 126 inches. And make vertical corner supports 84 inches long.
Q: What backdrops can I use?
A: Canvas, muslin, broadcloth, and vinyl fabrics work well. Shower curtain liners make affordable DIY backdrops too. Go as simple or elaborate as you wish.
Q: How much weight will the PVC frame hold?
A: Approximately 15-20 lbs spread evenly across the top pipe. Any more risks frame stability and collapse.
Q: Can I leave the stand assembled outside?
A: It’s best not to leave it outdoors full time. Sunlight and weather extremes will degrade the PVC and hardware over time.


