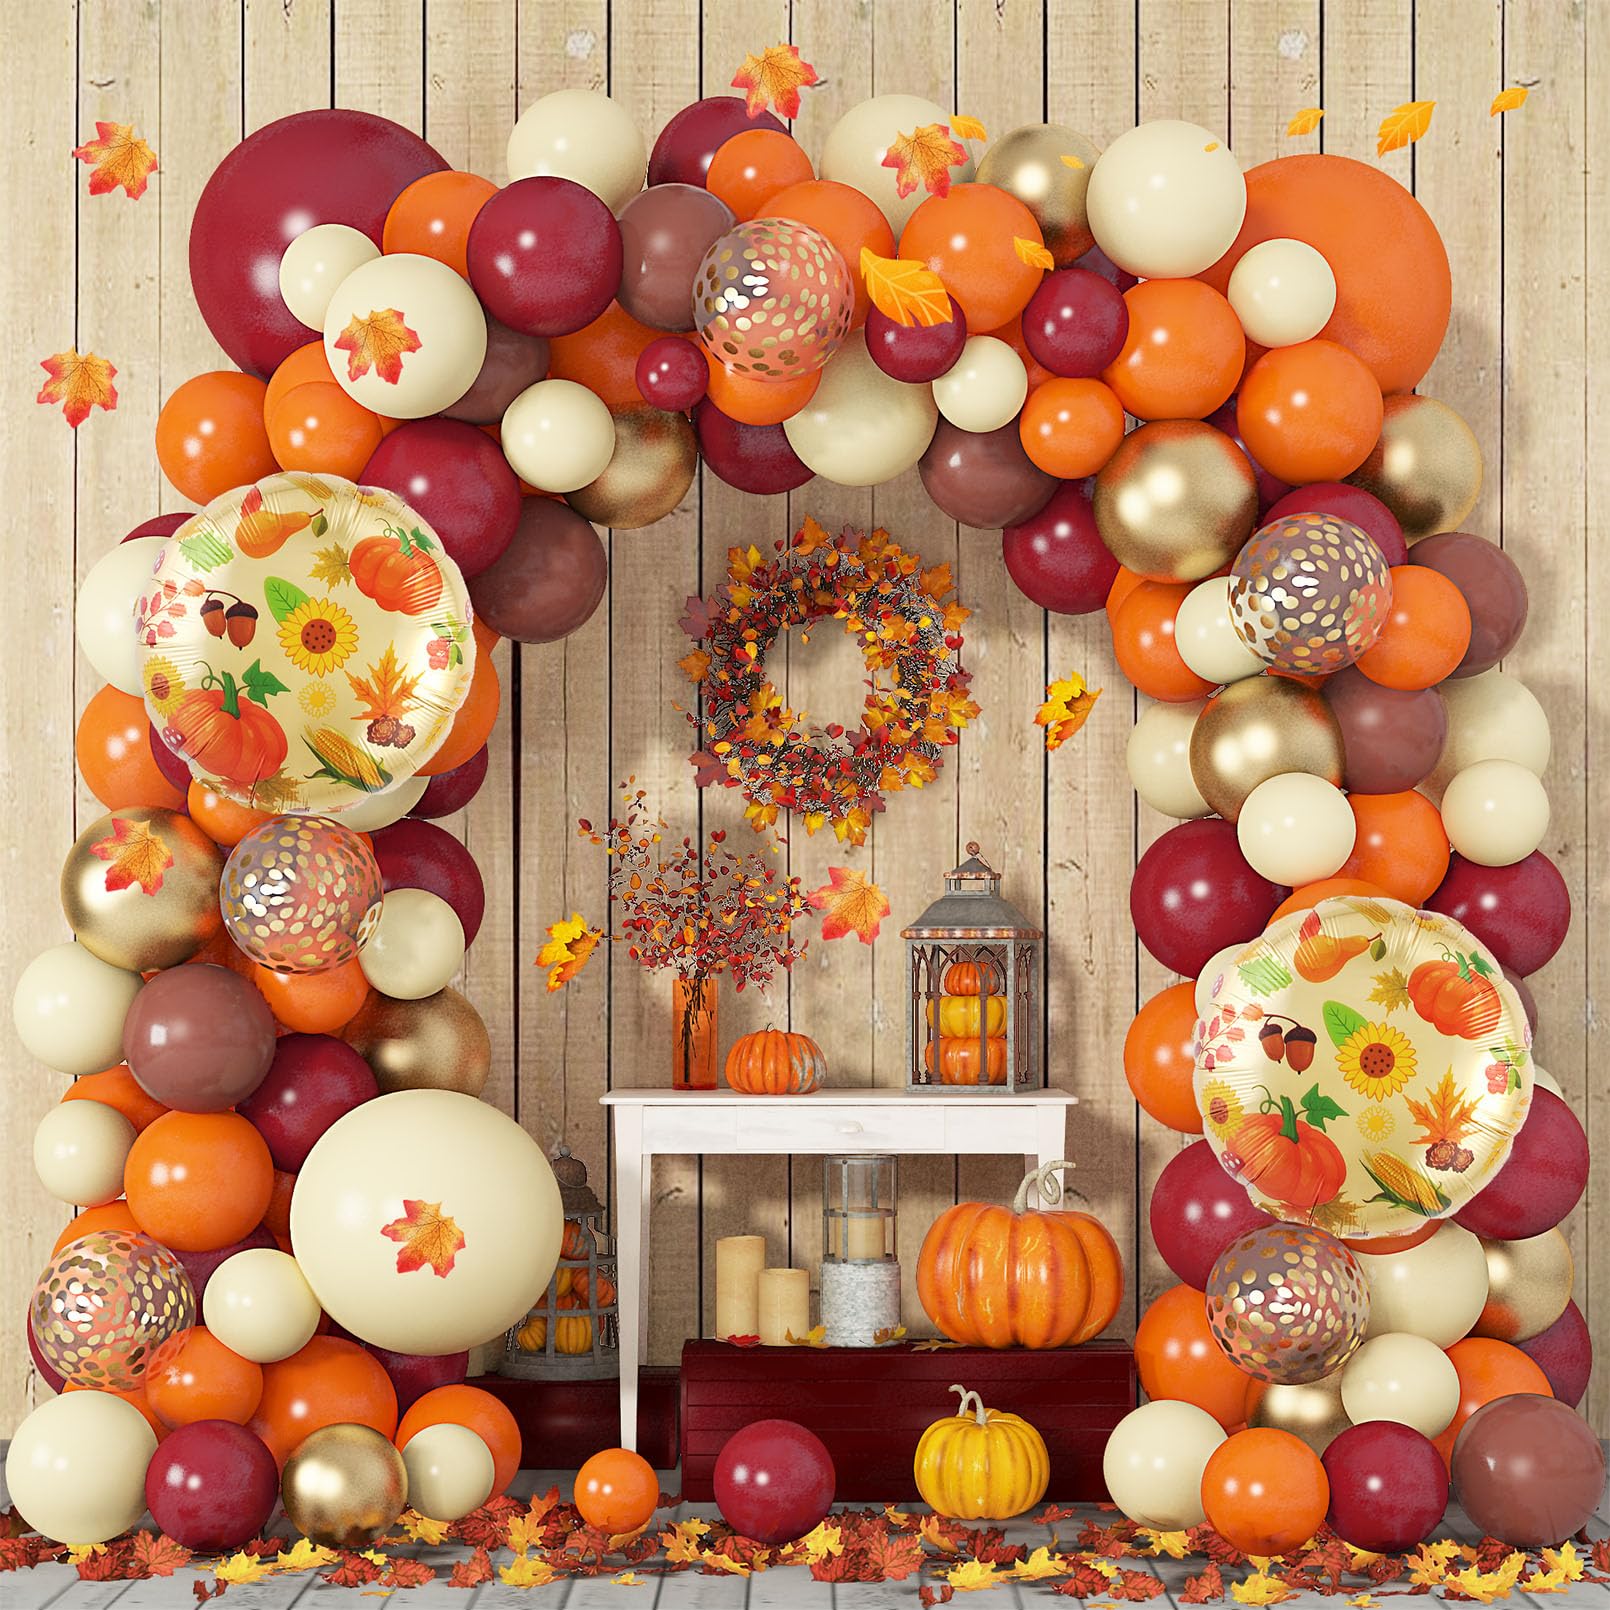
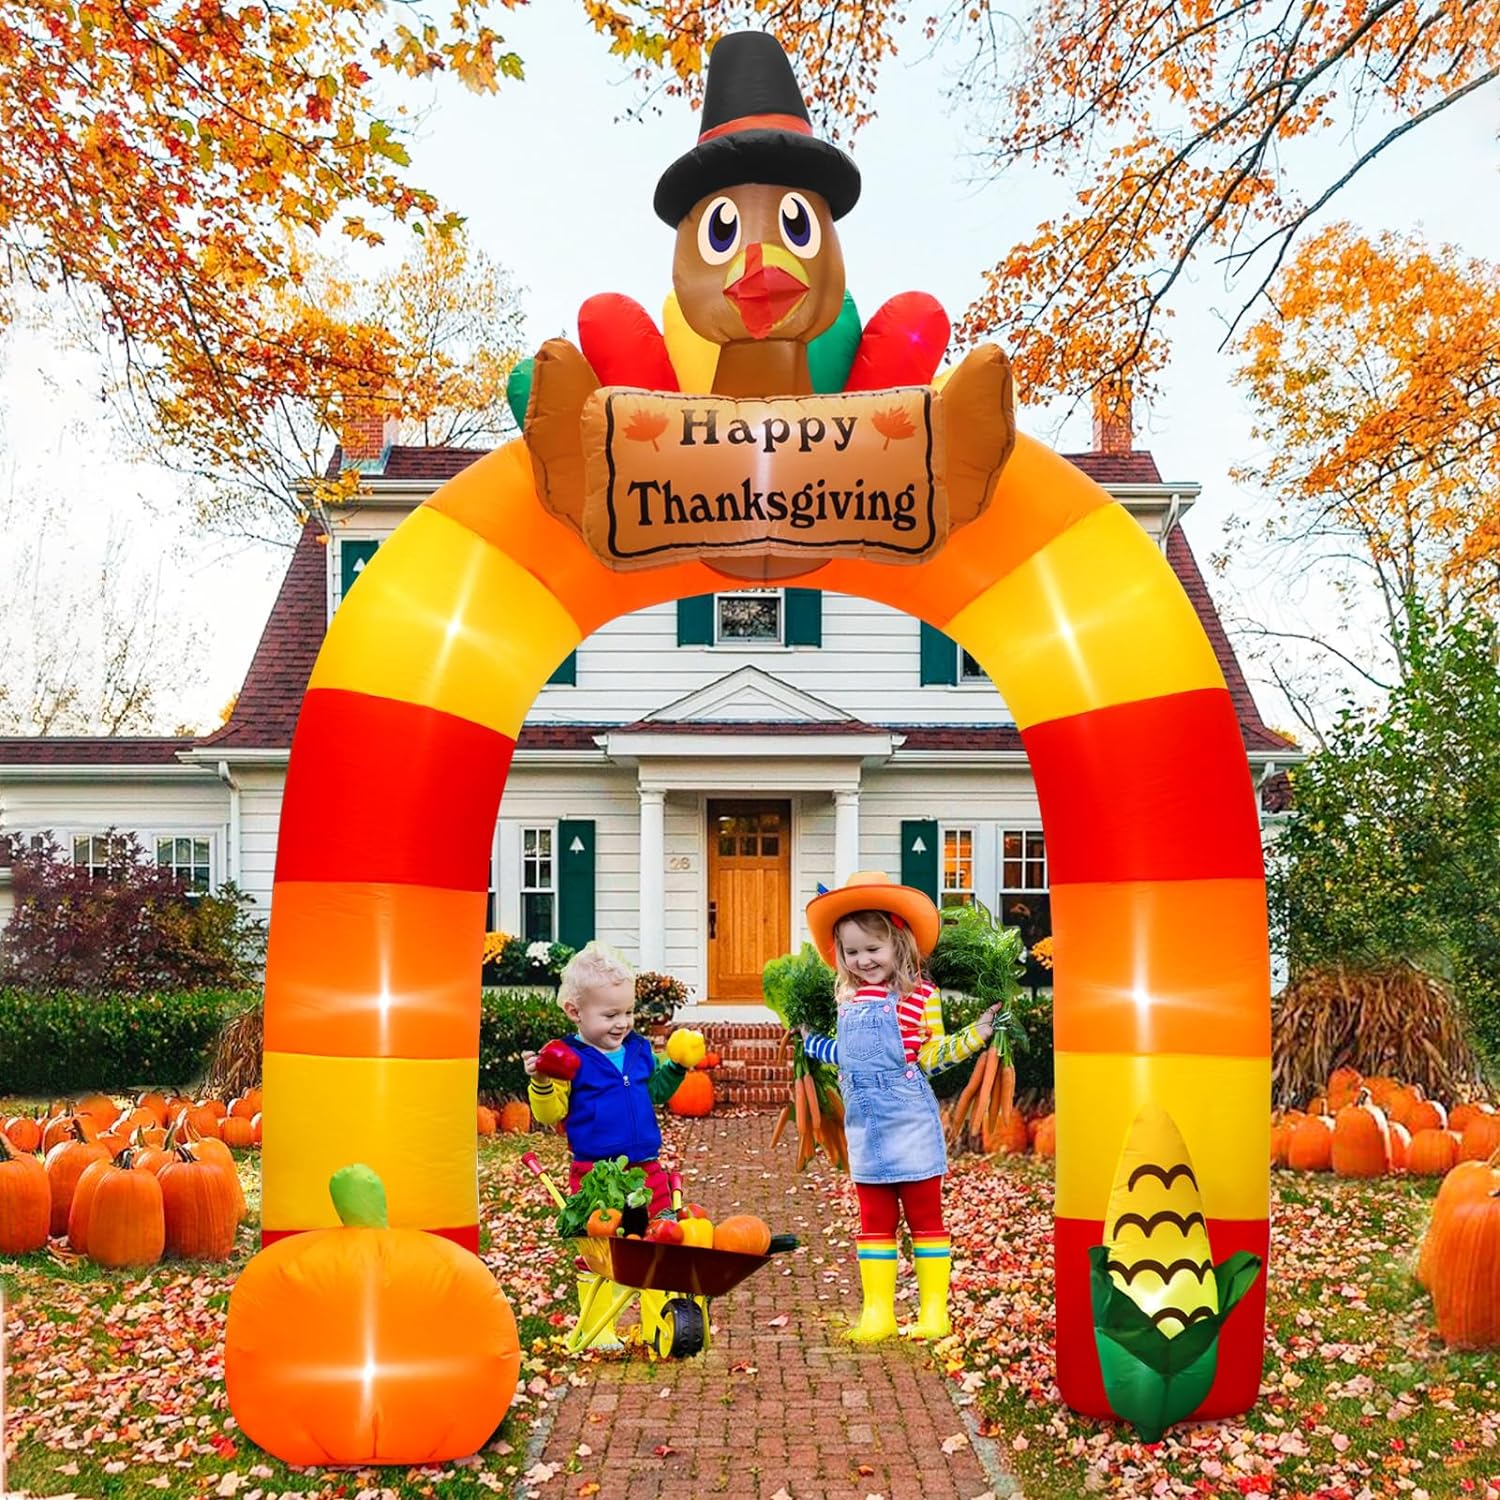
The leaves are changing colors, and the air is getting crisp, and pumpkin spice everything is back on the shelves. That can only mean one thing – Thanksgiving is right around the corner! Thanksgiving is one of my favorite holidays. It’s all about gathering with loved ones, reflecting on what we’re grateful for, and stuffing ourselves silly with delicious food. One of my favorite Thanksgiving traditions is decorating. I love transforming my home into a warm, autumnal wonderland. It sets the mood for the whole holiday. This year, I wanted to take my Thanksgiving decor up a notch. After browsing Pinterest, I decided a giant Thanksgiving balloon arch would be the perfect focal point for my Thanksgiving table.
Balloon arches are totally trending right now. You see them at weddings, birthdays, baby showers – you name it. And they really draw the eye. The only problem is most of the balloon arches I saw were pretty generic. I wanted something more thoughtful and seasonal for Thanksgiving.
So I decided to DIY my own Thanksgiving-themed balloon arch! It was a fun challenge to create something festive yet elegant. And it was much more affordable than hiring a professional balloon artist. Keep reading and I’ll walk you through exactly how I made my show-stopping Thanksgiving balloon arch. It’s easier than it looks, I promise!
Supplies You’ll Need
Before we get started, here are the supplies you’ll need to make your own gorgeous Thanksgiving balloon arch:
- At least 100-200 latex balloons in fall colors. I used orange, yellow, brown, red, and a few greens. Mix up the colors and shades for dimension.
- Balloon pump or helium tank to inflate the balloons
- Clear fishing line or thin ribbon for stringing the balloons
- Arch structure. I used a large willow branch arch I found at a craft store, but you could DIY something with PVC pipes.
- Floral wire or zip ties for attaching balloons to the arch
- Scissors for cutting string
- Ladder for reaching higher areas of the arch
- Fall-themed embellishments like faux leaves, berries, etc. (optional)
- Thick ribbon for the base of the arch
And that’s it! Pretty simple right? Now let’s get into the fun part – actually making this beauty.
Step 1: Inflate the Balloons
First things first – it’s time to inflate our balloons. You’ll want to inflate them to around 90% capacity. Overinflating can cause them to pop easier. I prefer using a small handheld pump so I can control the amount of air better. But a helium tank works too if that’s what you have.
Inflate the balloons in batches of 3-5 colors at a time. This helps make sure you have an even distribution of each color. As you inflate them, set them aside in piles according to color.
Pro Tip: Try to use similar sized balloons if possible. This will help the arch shape look fuller and more uniform.
Step 2: Arrange the Balloons
Once all your balloons are inflated, it’s time for the fun part – starting to assemble our arch! Lay your arch structure on the floor or across two tables.
Start by attaching a thick ribbon along the base of the arch. This helps hide the mechanics underneath and gives it a polished look. Use hot glue or floral wire to attach the ribbon to the base.
Then grab your string or fishing line. Cut four pieces about 5 feet long each. These will be your main vertical strings that all our balloons will hang from.
Space out the strings evenly along the arch and attach them by tying or wiring them to the top of the arch. Make sure they’re secured tightly. These strings need to hold all the balloon weight without slipping down.
Now we can start attaching balloons! Start with the bottom row first. Use a mix of colors here since it will be most visible. I like to alternate colors as I go.
To attach balloons, loop floral wire or a zip tie around the balloon stem and string. Adjust spacing as desired, keeping balloons close together so they touch a bit. Keep adding balloons until the first row is filled in.
Work your way up, adding rows of balloons one at a time. Alternate color order and placement from the row before so colors are mixed evenly. This helps it look more organic and full.
Aim for a rounded, dome-like shape. Pack balloons densely near the center top of the arch. Then taper off toward the legs. Fill in any gaps by squeezing in smaller balloons.
Stand back occasionally to check for holes and see if the shape looks full and dramatic enough. The arch should be about 2-3 balloons thick ideally.
Once the whole arch is filled, reinforce the legs with a few extra tightly-packed balloons. We don’t want any sagging.
Step 3: Add Embellishments
At this point, your balloon arch is basically complete! Now it’s time for the fun finishing touches. This is where you can get creative and tie in Thanksgiving themes.
Here are some ideas for embellishments:
- Alternate light and dark brown balloons for a pattern that mimics a turkey’s feathers
- Glue on faux autumn leaves
- Tuck in sprigs of colorful faux berries or baby’s breath
- Accent with curling ribbon streamers in fall colors
- Add a big gorgeous bow right at the center top
- Drape string lights along the top and sides for a magical glow
I filled in a few empty spaces with leaf clusters and added a burgundy ribbon bow. Simple but so pretty! Feel free to embellish as much or as little as you want.
Hang It Up!
Now it’s finally time to hang up your gorgeous creation and admire your work!
Position your arch in the center of the table or in a doorway. Carefully lift and attach hooks or wire to the sides to hang it up securely. Make sure it’s not pulling down anywhere or hanging lopsided.
Step back and bask in the beautiful fall vibes! Nothing says Thanksgiving and the holiday season quite like a warm, welcoming balloon arch. It’s sure to impress your guests and make the perfect backdrop for your festive gathering.
I had so much fun challenging myself to make something unique. And I think it really paid off – this arch helped create such a festive atmosphere for our Thanksgiving. My family was blown away and kept raving about it all holiday!
Thanksgiving Balloon Arch Ideas
Here are a few Thanksgiving balloon arch ideas to get you started:
- Classic Thanksgiving colors: Use a mix of orange, yellow, brown, and white balloons to create a classic Thanksgiving arch. You can also add in some green balloons for a touch of nature.
- Fall leaves: Use a variety of fall-colored balloons, such as orange, red, and yellow, to create an arch that looks like a pile of fallen leaves. You can also add some green balloons to represent the foliage.
- Turkey: Use a variety of brown, white, and black balloons to create a turkey arch. You can also add some red balloons for the turkey’s wattle and gobbler.
- Pumpkin: Use a variety of orange, yellow, and brown balloons to create a pumpkin arch. You can also add some green balloons for the pumpkin’s stem.
- Cornucopia: Use a variety of orange, yellow, brown, and green balloons to create a cornucopia arch. You can also add some red balloons for the cornucopia’s fruit.
- Pilgrim hat: Use a variety of black, white, and brown balloons to create a pilgrim hat arch. You can also add some yellow balloons for the pilgrim hat’s buckle.
- Mayflower: Use a variety of white, blue, and red balloons to create a Mayflower arch. You can also add some green balloons for the Mayflower’s sails.
No matter what colors or designs you choose, a balloon arch is a sure way to add a festive touch to your Thanksgiving celebration.
FAQs
How long will my balloon arch last?
With proper care, a balloon arch can last anywhere from 1-2 weeks. Keep it away from direct sunlight and heat to help preserve it.
What if some balloons start sinking or popping?
That’s normal and will happen over time! Just replace any saggy or popped balloons as needed. Focus on the top center since that’s the focal point.
Do I need helium or can I just blow them up?
You can inflate balloons manually, but helium will make them floatier and your arch look fuller. It also prevents air loss over time.
How do I safely transport my balloon arch?
Carefully disassemble it by popping balloons from the top and coiling up vertical strings. Carry the base separately. Reassemble on site!
Can balloon arches be used outdoors?
Yes, but wind and weather will impact their longevity. Opt for heavier balloon weights and reinforce anchoring points.
What type of balloons work best?
Latex balloons are ideal for arches because they’re affordable, colorful, and easy to inflate to a large size. Mylar balloons won’t expand as much.
Last Words
Creating a Thanksgiving balloon arch is such a fun, festive way to decorate for the holiday season. As you can see, the process is easier than it looks! With some creativity and patience, you can DIY a gorgeous arch even if you’re not a professional balloon artist.
The sense of accomplishment when it all comes together makes it so rewarding. Create an inviting atmosphere with elegant Thanksgiving bathroom sets, ensuring every corner of your home reflects the warmth and joy of the season. And your arch will bring so much joy and wonder to your Thanksgiving gathering. I hope these tips and ideas inspire you to design your own beautiful balloon arch this season! Just grab some balloons, pump up the tunes, and let your creativity shine. Have a very happy Thanksgiving!


