Hot mop shower pans, known for their waterproofing capabilities, were once a popular choice for bathroom construction. However, trends change, and over time these shower pans can crack, deteriorate, or simply become outdated. If you’re planning a bathroom remodel, removing the old hot mop shower pan will be one of the crucial first steps.
This guide will walk you through the process effectively, with an emphasis on safety and minimizing damage to your bathroom’s subfloor.
What is a Hot Mop Shower Pan?
Before we dive into demolition, let’s understand the basics. A hot mop shower pan is a traditional waterproofing system. It comprises layers of roofing felt and hot asphalt (“tar”) that create a waterproof barrier, often beneath a mortar bed for tiling. This method was common before modern prefabricated shower pans became readily available.
Why Remove a Hot Mop Shower Pan?
There are a few reasons to consider removing your hot mop shower pan:
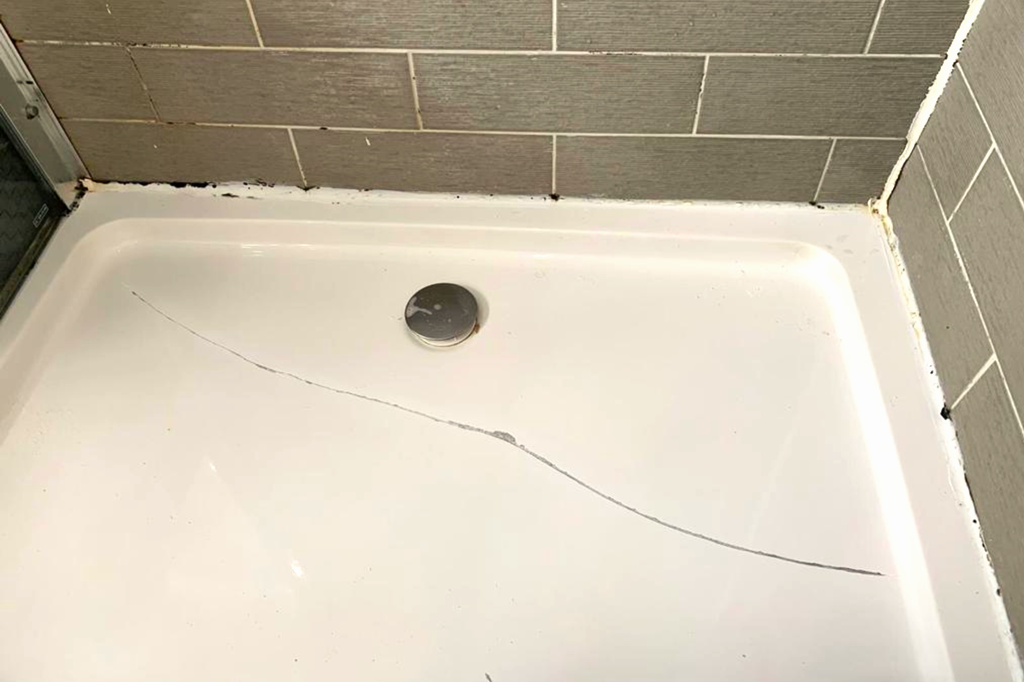
- Damage and Leaks: Older hot mop pans can develop cracks, leading to leaks and potential damage to your bathroom subfloor.
- Remodeling: If you’re planning a bathroom remodel that changes the shower’s footprint, you’ll need to remove the hot mop pan to accommodate a new shower base.
- Outdated Style: Hot mop pans often necessitate a curb and can be challenging to modify, making modern, curbless shower designs difficult.
Tools and Preparation
- Safety Gear: Dust mask, safety glasses, gloves, long sleeves, work boots.
- Demolition Tools: Pry bar, sledgehammer, hammer, chisel, utility knife.
- Ventilation: Open windows, and use a fan if possible.
- Protection: Cover the surrounding bathroom surfaces with drop cloths or plastic sheeting.
- Disposal: Have a plan for debris disposal (dumpster rental or heavy-duty trash bags).
Step-By-Step Removal
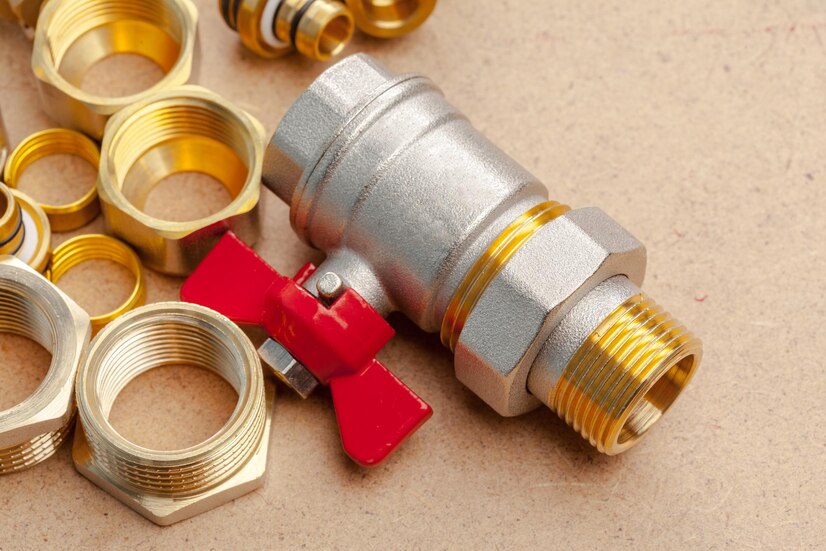
- Remove Shower Fixtures: Turn off the water supply, then disconnect the drain, shower walls, and other fixtures fixed to the shower pan.
- Initial Cuts: Score around the perimeter of your shower pan with a utility knife to break the seal where it meets the walls.
- Demolish the Mortar Bed (if present): Using a sledgehammer or hammer and chisel, carefully break up the mortar bed. Focus on removing large sections to access the hot mop layers below.
- Remove Hot Mop Layers: Use a pry bar to lift and peel back the hot mop (tar and felt) layers. This will be messy, and the material will likely come up in sections. Work progressively, being careful not to damage the subfloor unnecessarily.
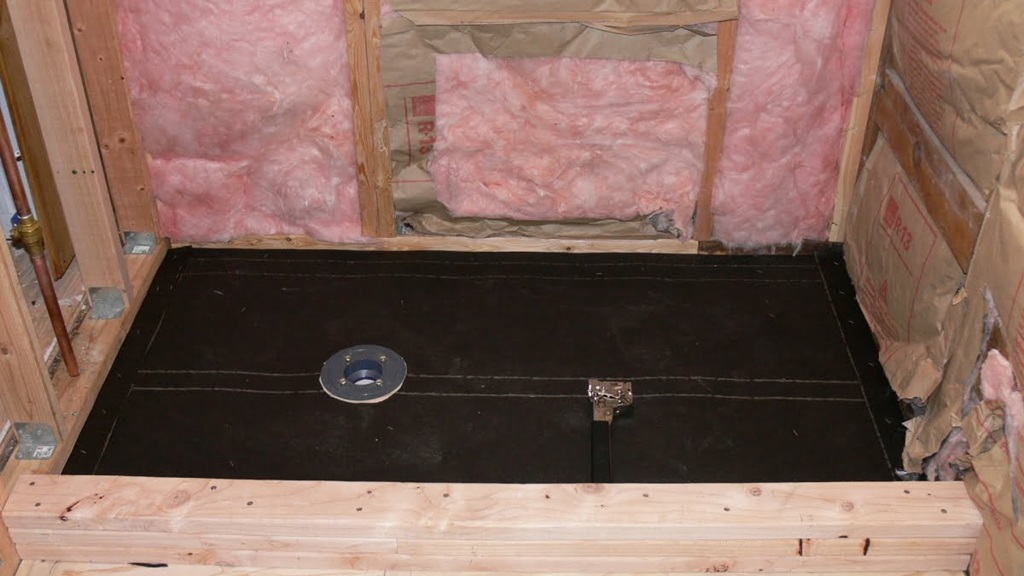
- Tackle the Drain: Hot mop shower pans frequently have their drain embedded within the layers. You’ll need to meticulously remove the hot mop material around the drain.
- Clean the Subfloor: Once the hot mop is removed, inspect the subfloor for damage. Repair any cracks, holes, or rotten areas before moving on to installing your new shower base.
Related: DIY Hot Mop Shower Pan: A Complete Guide
Important Considerations
- Subfloor Material: The subfloor underneath your shower pan could be plywood or concrete. Removal techniques will differ slightly based on the material.
- Stubborn Hot Mop: If the hot mop is proving exceptionally difficult to remove, you might try carefully heating it with a heat gun to soften it. Caution: Work in well-ventilated area as asphalt creates fumes.
- Professional Assistance: If you encounter unforeseen issues, don’t hesitate to consult a plumber or a bathroom remodeling expert.
Tips for Success
- Go Slow and Methodically: Rushing can lead to subfloor damage.
- Small Pry Bar for Detail Work: Have a smaller pry bar handy for areas requiring finer control, especially around the drain.
- Wear Appropriate Clothing: A hot mop can get extremely messy.
- Protect Yourself: The dust and fumes created during demolition can be harmful. Wear appropriate safety gear.
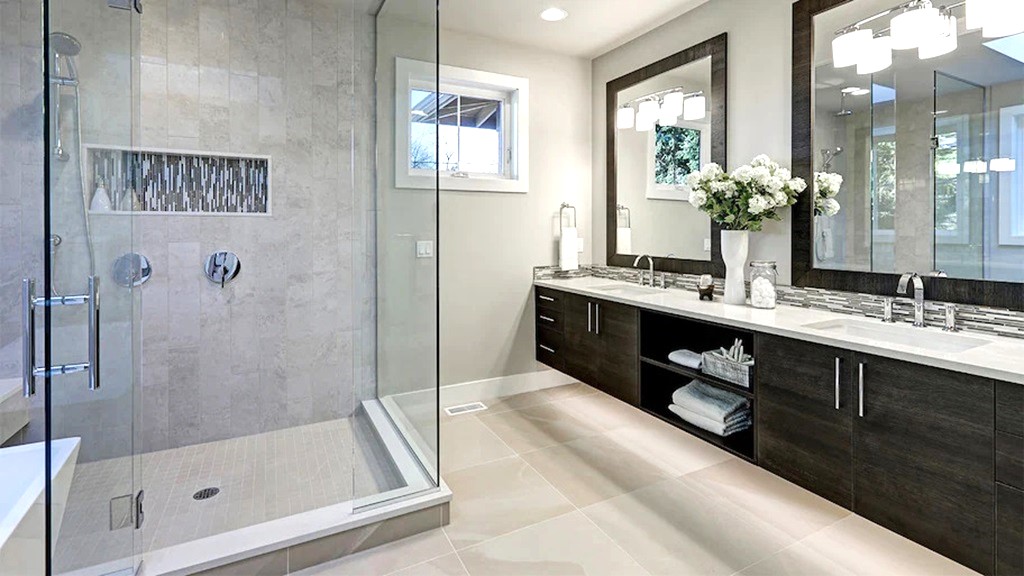
Beyond Removal: Installing Your New Shower Pan
Once you’ve successfully removed the hot mop shower pan, your bathroom is ready for a fresh start! Consider your options for a new shower base, including prefabricated options which often offer quicker installation.
By following these guidelines and taking safety precautions, you can remove an old hot mop shower pan, setting the stage for your beautiful bathroom renovation.