Have you ever looked at a room in your home and thought, “This could use a change?” Maybe it’s the way the natural light comes in through a window that you want to alter, or perhaps you simply want to create more wall space for artwork or furniture placement. Whatever the reason, removing a window and replacing it with a wall can be a transformative project that can completely change the look and feel of a room.
In this guide, we’ll take you through the process step by step, from planning and preparation to the actual construction. We’ll also share some tips, considerations, and insights to make your project smoother and more successful. So, if you’re ready to say goodbye to that window and hello to a brand-new wall, let’s get started!
Step 1: Planning and Permits
Before you pick up a hammer or start removing that window frame, you need to do some careful planning. This step is crucial to ensure your project goes smoothly and complies with local building codes. Here are some key things to consider:
- Design: Think about what you want the new wall to look like. Will it match the existing walls in terms of color and texture, or are you going for a different style? Consider factors like paint, wallpaper, or any other finishing touches you plan to add.
- Permits: Check with your local building department to determine if you need permits for this project. Regulations can vary widely depending on your location and the extent of the work. Failing to obtain the necessary permits can result in costly fines and delays.
- Structural Considerations: Is the window you’re removing load-bearing? If it is, you’ll need to install a header or support beam to carry the load that the window was previously supporting. Consult with a structural engineer if you’re uncertain about the structural integrity of your wall.
- Electrical and Plumbing: If there are any electrical outlets, switches, or plumbing fixtures near the window, you’ll need to relocate them to the new wall or elsewhere in the room. Plan for these changes in advance.
- Budget: Determine your budget for the project. This will guide your choices when it comes to materials and labor. Be sure to include a contingency fund for unexpected expenses.
Step 2: Gather the Right Tools and Materials
Now that you have a solid plan in place, it’s time to gather the tools and materials you’ll need for the job. Here’s a list of the essentials:
- Safety Gear: Safety should always come first. Make sure you have safety glasses, gloves, dust masks, and ear protection on hand.
- Tools: You’ll need a variety of tools, including a reciprocating saw, a pry bar, a hammer, a utility knife, a measuring tape, a level, a chalk line, and a cordless drill.
- Materials: Depending on the finish you want for your new wall, you’ll need drywall, drywall screws, joint compound, drywall tape, paint or wallpaper, and any trim or molding you plan to use.
- Support Structure: If your window is load-bearing, you’ll need the appropriate support structure, such as a header beam and additional framing lumber.
- Plastic Sheeting and Drop Cloths: These are essential for containing dust and protecting the rest of your home from debris.
Step 3: Prepare the Work Area
Before you start tearing out and fixing your window, it’s essential to prepare the work area properly. Here’s what you should do:
- Clear the Area: Remove any furniture, curtains, or decorations from the area around the window. You want a clear and open workspace.
- Cover Everything: Use plastic sheeting to cover the floor, adjacent walls, and any nearby fixtures to protect them from dust and debris.
- Turn Off Utilities: If there are electrical outlets or switches near the window, turn off the power to that circuit at the breaker box. Also, shut off the water supply if there are any plumbing fixtures to be moved.
- Safety First: Put on your safety gear—gloves, safety glasses, dust mask, and ear protection. Ensure all tools are in good working condition.
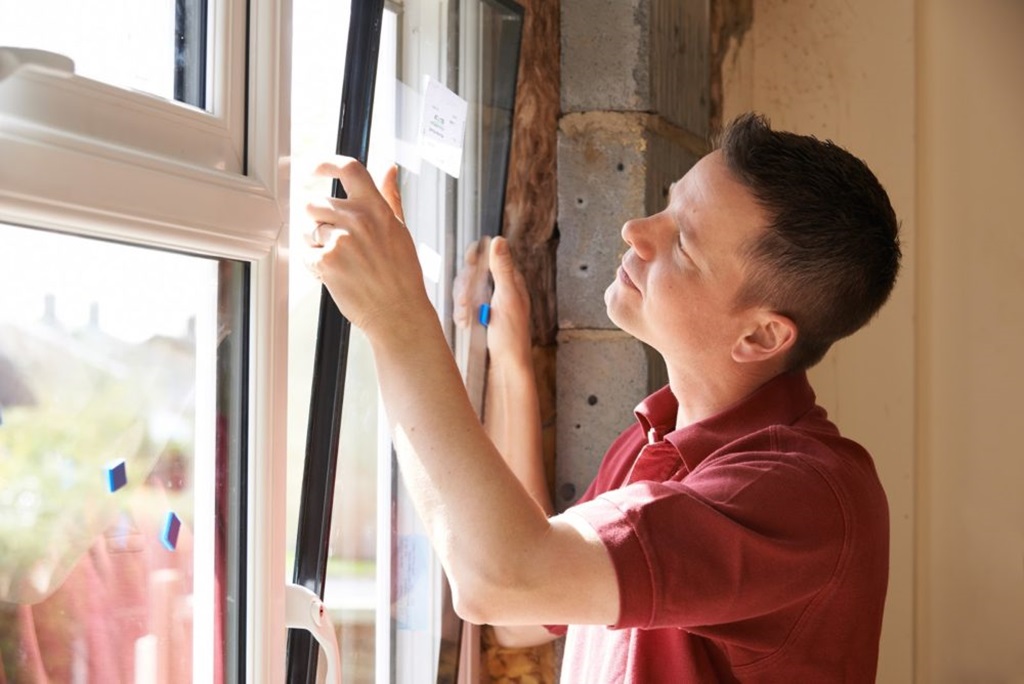
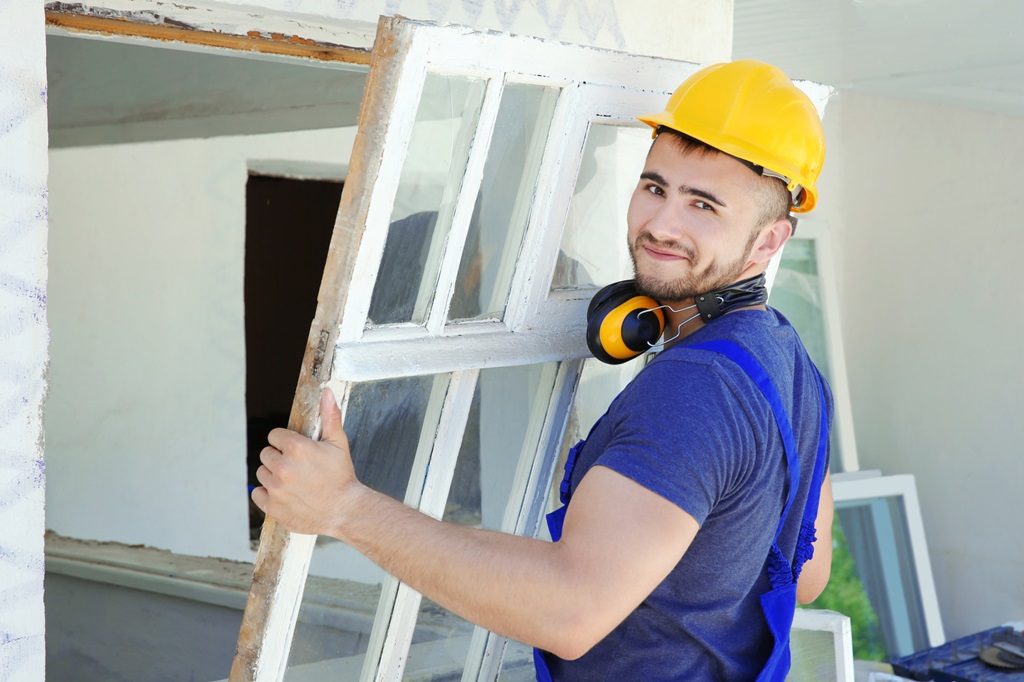
Step 4: Remove the Window
Now comes the exciting part—removing the window itself. Follow these steps carefully:
- Remove the Trim: Use a utility knife to cut away any caulk or sealant around the window trim. Then, carefully pry off the trim with a pry bar or a hammer and chisel. Be gentle to avoid damaging the surrounding wall.
- Remove the Window Frame: Depending on the type of window, you may need to remove screws, nails, or other fasteners holding it in place. Once the frame is detached, carefully remove the window from the opening.
- Demo the Wall: If the window was framed within the wall, you’ll need to demo the wall framing as well. Use a reciprocating saw to cut through the studs, starting at the top plate and working your way down. Be cautious not to cut any electrical or plumbing lines accidentally.
- Inspect for Mold or Water Damage: This is an excellent opportunity to inspect the area for any signs of mold or water damage. If you find any, address these issues before proceeding.
Step 5: Install the Support Structure
If your window was load-bearing, it’s time to install the necessary support structure. Here’s how:
- Measure and Cut: Measure the opening you created and cut a header beam to fit. Ensure that it’s level and plumb.
- Install the Header: Position the header above the opening and secure it in place with appropriate fasteners, such as structural screws or nails. Be sure it’s properly supported on each end.
- Add Framing: Frame out the opening with new studs, ensuring that they are spaced according to local building codes and the wall finish you plan to use. Use a level to ensure everything is plumb and square.
Step 6: Close the Opening
With the support structure in place, it’s time to close up the opening with new wall material. Follow these steps:
- Drywall Installation: Measure and cut the drywall to fit the opening. Attach it to the framing using drywall screws. Be sure to stagger the seams and use drywall tape and joint compound to finish the joints.
- Finishing Touches: Once the drywall is in place, finish it by applying joint compound to the seams and any imperfections. Sand it smooth after it dries, and apply additional coats if necessary.
- Paint or Wallpaper: After the joint compound is dry and smooth, you can paint or wallpaper the new wall to match the rest of the room. Be sure to allow for proper drying time between coats.
- Install Trim: If your room has baseboards or other trim, install it along the bottom of the new wall to create a finished look. Caulk and paint the trim to match the room.
Step 7: Cleanup and Final Inspection

Now that your new wall is in place and looking fantastic, it’s time to clean up the work area and conduct a final inspection. Here’s what to do:
- Clean Up: Remove all plastic sheeting, drop cloths, and debris from the work area. Vacuum and wipe down the space to ensure it’s clean and ready for use.
- Check for Proper Sealing: Inspect the new wall for any gaps or imperfections in the finish. Ensure that it’s properly sealed and painted or wallpapered.
- Reconnect Utilities: If you disconnected power or water, now’s the time to turn them back on. Test any relocated electrical outlets or switches to make sure they’re functioning correctly.
- Inspect the Structural Support: If your window is load-bearing, have a structural engineer or building inspector verify that the support structure is properly installed and meets code requirements.
- Enjoy Your New Wall: Step back and admire your handiwork! Your room has a fresh look and more wall space, ready for you to arrange as you please.
Congratulations! You’ve successfully removed a window and replaced it with a wall, transforming your space in the process. Now, let’s address some common questions and concerns that may arise during this project.
In conclusion
Removing a window and replacing it with a wall can be a rewarding home improvement project that adds versatility and style to your living space. With careful planning, the right tools, and attention to detail, you can transform your room and create a new focal point. Whether you’re looking for more wall space for artwork or a change in the room’s layout, this project can breathe new life into your home. So, roll up your sleeves, put on that safety gear, and get ready to embark on a home transformation journey!
FAQs
- Do I need a professional contractor to remove a window and install a wall?
While it’s possible to do this project yourself if you have the necessary skills and tools, it’s essential to consider the complexity of the task. If the window is load-bearing or if you’re unsure about any aspect of the project, it’s wise to consult with a professional contractor or structural engineer to ensure safety and compliance with local building codes.
- How long does it typically take to complete the process of removing a window and replacing it with a wall?
The timeline can vary depending on factors like the size of the window, the complexity of the support structure, and the finishing details you choose. On average, this project can take anywhere from a few days to a couple of weeks. Proper planning and preparation can help streamline the process.
- Can I reuse the window I removed in another part of my home?
Yes, you can often reuse the window you remove in another area of your home or even donate it if it’s in good condition. However, keep in mind that relocating a window may require additional structural modifications and alterations to the new space.
- Are there any energy efficiency considerations when replacing a window with a wall?
Removing a window and replacing it with a wall can affect the overall energy efficiency of your home. Windows play a crucial role in insulation and natural light. Consider the impact on heating, cooling, and lighting when making this decision. You may want to explore alternative solutions, such as energy-efficient windows or window treatments.
- Can I install a door in place of the window instead of a wall?
Yes, you can replace a window with a door, provided that it meets local building codes and structural requirements. This can be a great way to create access to a patio, deck, or backyard. Keep in mind that installing a door is a more complex project than installing a wall, and it may require additional considerations like proper weatherproofing and security features.