Hey there, plumbing enthusiasts and DIY warriors! Today, we’re diving headfirst into a topic that’s not for the faint of heart (or nose, for that matter). Yep, you guessed it – we’re talking about snaking a drain. Now, before you start picturing yourself in a fierce battle with a giant, slithering reptile, let me reassure you: it’s not as daunting as it sounds.
Picture this: You’re standing in your bathroom, desperately waiting for the water in your sink or bathtub to make a Houdini-style disappearance. But instead, it’s stubbornly clinging to your life, mocking your every attempt to make it vanish. Fret not, my friend. With the right tools, a pinch of patience, and a dash of determination, you can conquer this drainage dilemma. Let’s roll up those sleeves and embark on this adventure together.
The Drain Snake: Your Trusty Sidekick
First things first, meet your trusty sidekick in this plumbing escapade – the drain snake. Think of it as a plumber’s magic wand, a coiled hero ready to plunge into the dark abyss of your clogged drain. The drain snake is a flexible, slender, and long cable-like tool designed to navigate through the twists and turns of your plumbing system. Its mission? To dislodge whatever’s blocking your drain.
What You’ll Need
Before you start wrestling with your drain’s hidden demons, gather your supplies:
A Drain Snake: Obviously, you need the star of the show, the drain snake itself. You can purchase one at your local hardware store or rent one for the day if you prefer not to commit to a long-term relationship.
Work Gloves: Protect those hands from gunk and grime. You’ll be thankful later.
Safety Glasses: A little extra insurance for your peepers in case of splashes or unexpected surprises.
A Bucket: To catch any debris that emerges from your drain.
A Flashlight: Illuminate the depths of your drain to spot potential blockages.
A Wrench: You may need to remove the drain cover, so keep a wrench handy.
Old Towels or Rags: For wiping your hands and cleaning up any spills.
Now that you’ve got your tools of the trade, let’s get down to the nitty-gritty of snaking that stubborn drain.
Step 1: Prepare for Battle
Alright, soldier, before you charge into the battlefield, it’s essential to prepare yourself and your surroundings:
Safety First: Put on your work gloves and safety glasses. We’re going in!
Clear the Area: Remove any items around the sink or bathtub to give yourself plenty of room to work.
Remove the Drain Cover: If your drain has a cover, use your wrench to carefully remove it. Set it aside where you won’t trip over it.
Illuminate the Darkness: Shine your flashlight into the drain to see if you can spot any obvious obstructions.
With your gear on and the stage set, it’s time to make your move.
Step 2: Insert the Drain Snake
Now comes the fun part. You’ve got your trusty drain snake in hand, and it’s time to send it on its mission to clear that pesky clog. Here’s how you do it:
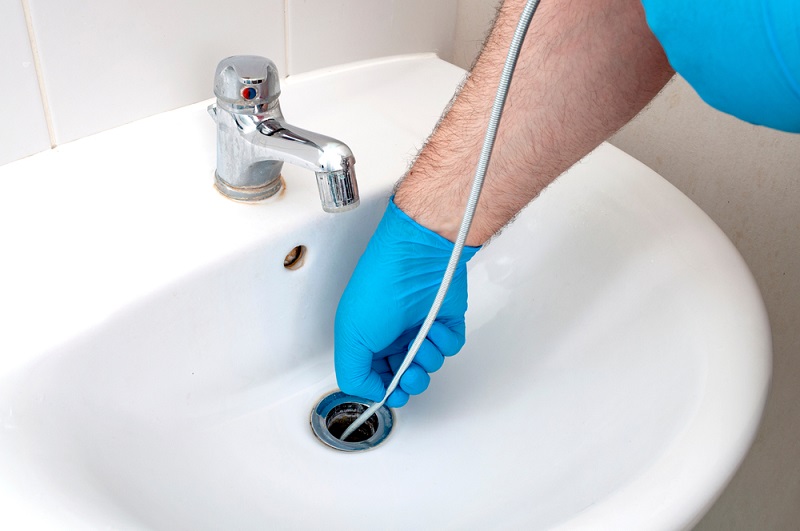
Start Slow: Gently insert the snake into the drain. Don’t force it; you want it to glide smoothly.
Feel the Resistance: As you push the snake further down, you might encounter some resistance. That’s a good sign – it means you’re getting close to the culprit.
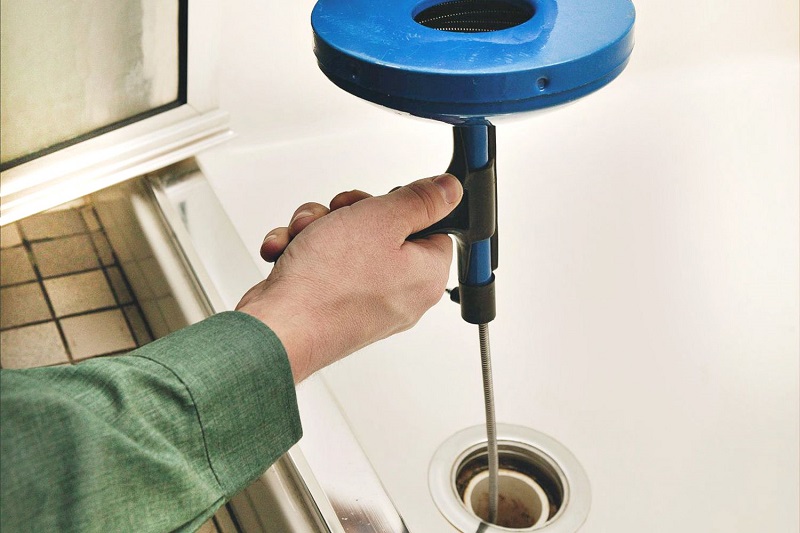
Turn the Crank: Most drain snakes have a crank or handle. Start turning it slowly and steadily as you feed more cable into the drain. This spinning motion will help the snake work its magic.
Keep It Moving: As you turn the crank, keep pushing the snake deeper into the drain. If you encounter a particularly tough blockage, you might need to give it some extra muscle.
Listen and Feel: Pay close attention to what you’re doing. You might hear or feel a satisfying “pop” when the snake breaks through the clog.
Step 3: Retrieve the Snake
Congratulations, you’ve successfully conquered the clog! Now it’s time to bring your trusty snake back to the surface:
Reverse the Crank: Slowly turn the crank in the opposite direction to retract the snake.
Check for Debris: As you pull the snake out, keep an eye out for any debris or gunk it might bring up. That’s a surefire sign that you’ve cleared the blockage.
Clean Up: Dispose of the collected debris in your bucket and clean the snake thoroughly. You don’t want to store it with remnants of its conquest.
Step 4: Test the Drain
With the clog vanquished and the snake safely stowed away, it’s time to see if your efforts paid off:
Run Some Water: Turn on the tap or faucet connected to the drain you just snaked. Let the water flow freely and see if it drains smoothly.
Observe: Keep a close eye on the water. If it drains without hesitation, congratulations, you’ve won the battle!
Step 5: Replace the Drain Cover
Assuming all went well (which it most likely did), it’s time to wrap up this plumbing adventure:
Reattach the Drain Cover: Using your trusty wrench, secure the drain cover back in place.
Clean Up: Wipe down your work area, and wash your hands thoroughly. You’ve earned it!
And there you have it – you’ve successfully snaked a drain like a seasoned pro. Pat yourself on the back; you’ve just saved yourself a hefty plumbing bill and gained some DIY bragging rights.
FAQs (Frequently Asked Questions)
Can I use a drain snake on any type of drain?
Absolutely! Drain snakes are versatile and can be used on sinks, bathtubs, showers, and even toilets. Just make sure to use the appropriate size of snake for the job.
What should I do if the drain snake doesn’t work?
If the snake doesn’t do the trick, you may be dealing with a more significant plumbing issue. It’s best to call a professional plumber to assess and fix the problem.
Is there anything I should avoid when snaking a drain?
Avoid using excessive force, as you could damage your pipes. Additionally, don’t snake a drain if you’ve recently used chemical drain cleaners, as they can be hazardous when mixed with the materials the snake might dislodge.
Can I prevent clogs in the future?
Absolutely! Regularly clean your drains by pouring boiling water down them and using a hair catcher in showers and bathtubs. Avoid putting grease and large food particles down kitchen sinks and dispose of them properly.
Do I need to be a professional plumber to snake a drain?
Not at all! Snaking a drain is a relatively straightforward DIY task that anyone can tackle with the right tools and a bit of patience. Just remember to take safety precautions and follow the steps outlined above.


