
Experiencing no water flow after replacing a pressure tank can be frustrating, especially for homeowners relying on a well system for their water supply. Fortunately, this issue often stems from simple causes that can be addressed with the right steps. At Home Decorations Tips, we understand the importance of a reliable water system for your home’s functionality and comfort. This article will guide you through the process of diagnosing and fixing the problem, with a focus on how to prime a pressure tank after a new one is installed, ensuring your water system is back up and running smoothly.
Understanding the Role of a Pressure Tank
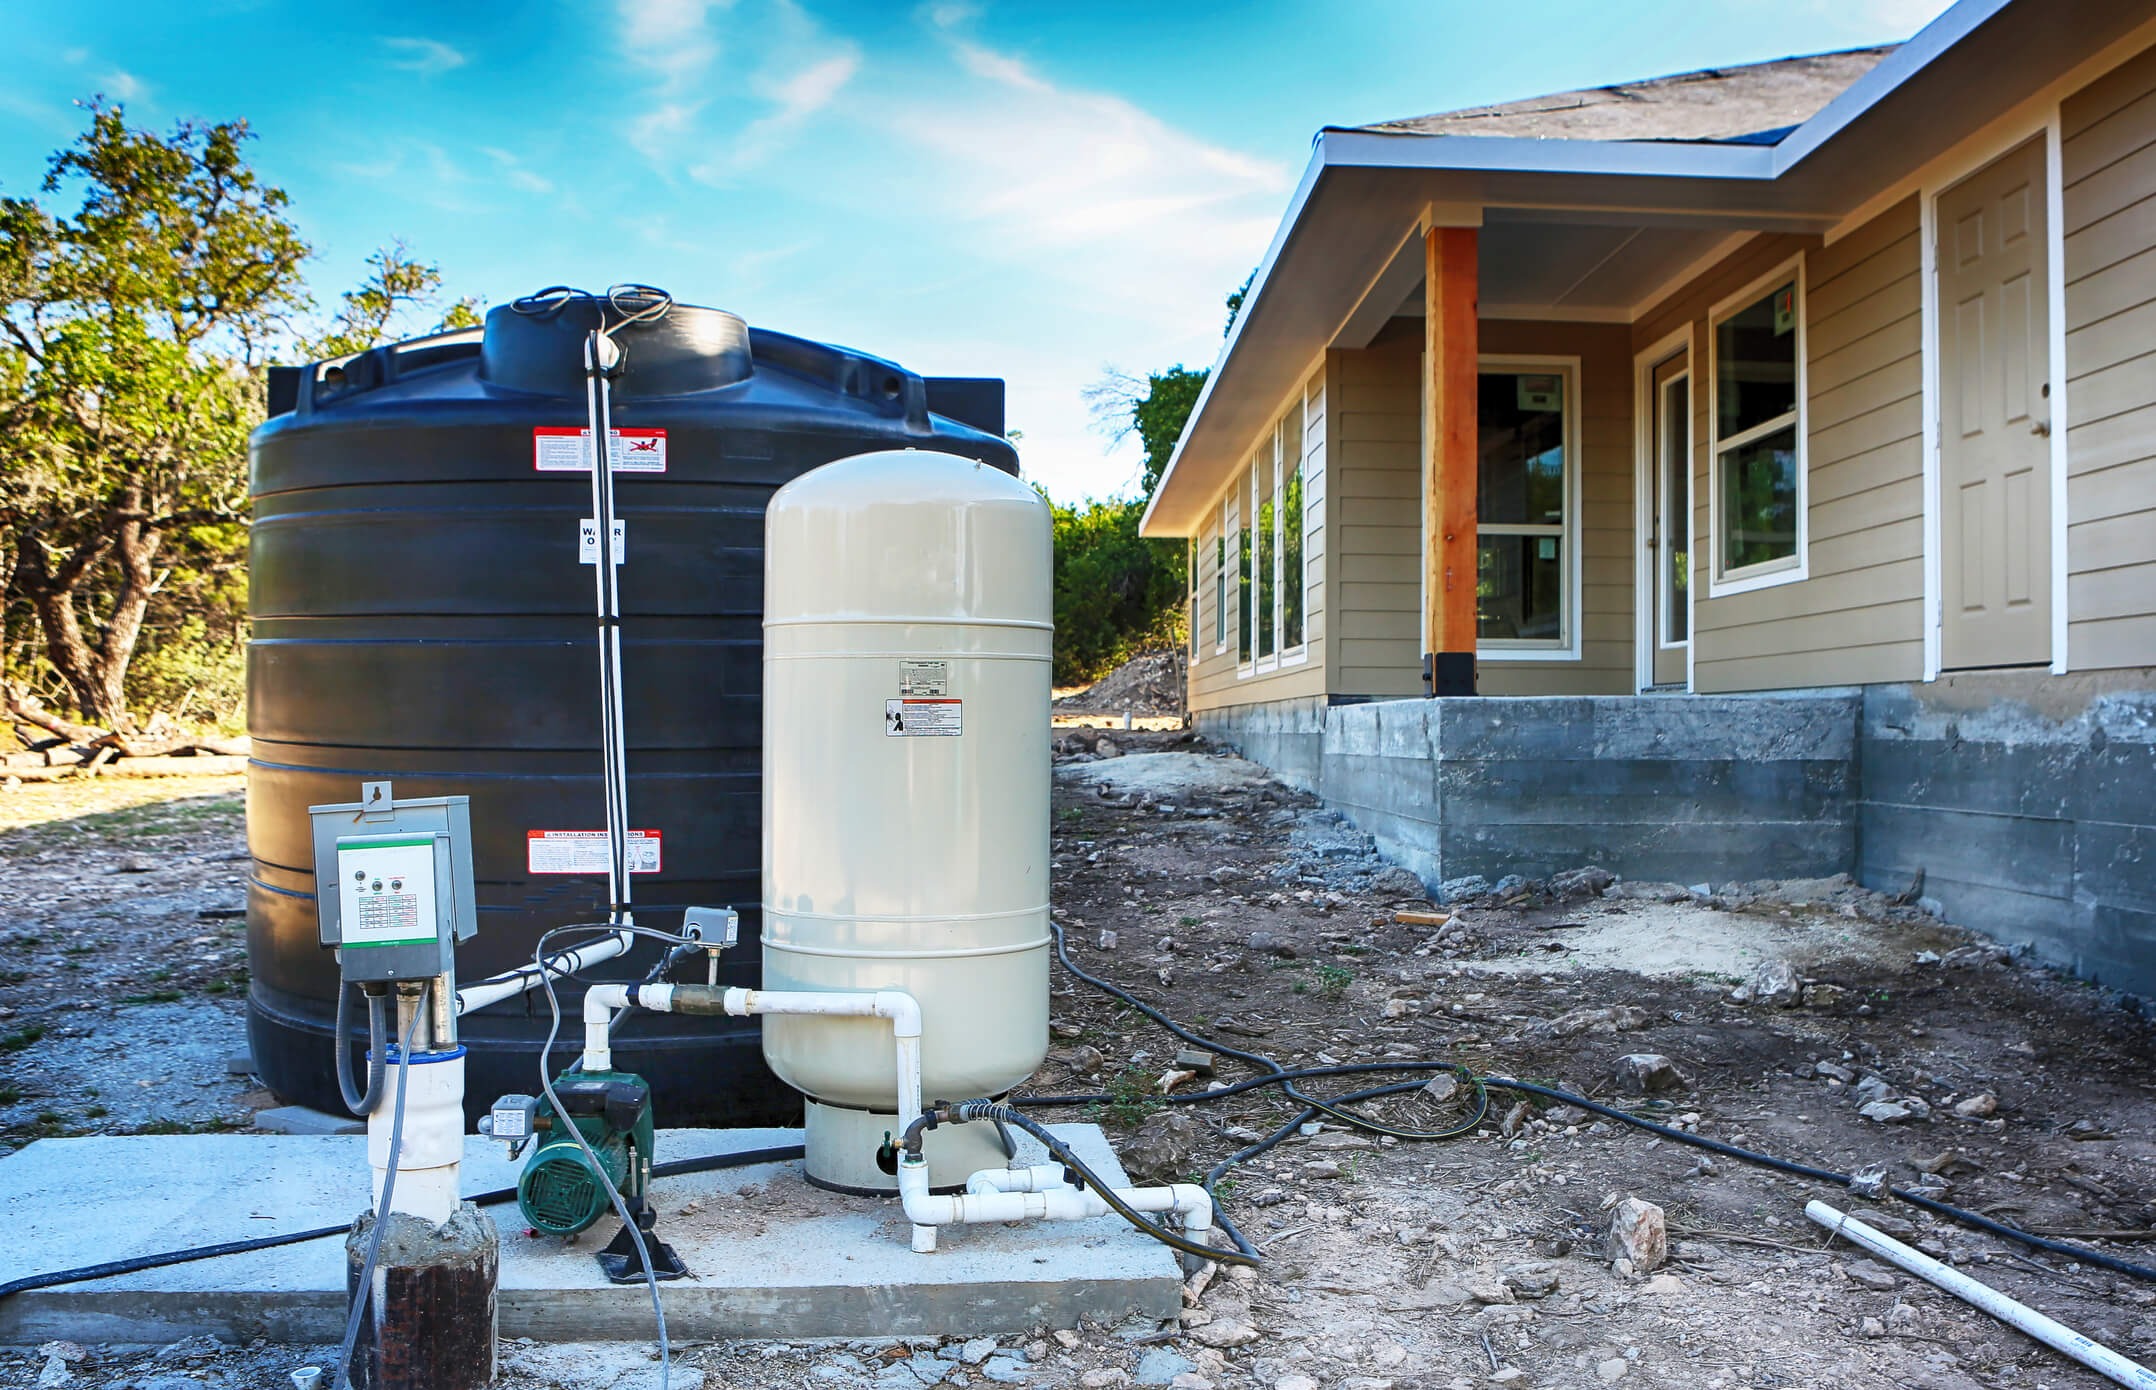
A pressure tank is a critical component of a well water system. It stores water under pressure, allowing the pump to cycle less frequently, which saves energy and extends the pump’s lifespan. When you replace a pressure tank, air or water imbalances can disrupt the system, leading to no water flow. Priming the tank and checking related components are often the key to restoring functionality.
To address this issue effectively, you’ll need to understand how to prime a pressure tank after a new one is installed. This process ensures the tank and pump work together to deliver water consistently. Priming involves filling the pump and pipes with water to create the necessary suction for water flow. Let’s explore the common reasons for no water and how to fix them.
Common Causes of No Water After Tank Replacement
Several issues can cause a lack of water flow after installing a new pressure tank. Identifying the root cause is the first step to resolving the problem. Here are the most common culprits:
- Improper Priming: The pump may not be primed correctly, meaning it lacks the water needed to create suction.
- Air Leaks: Leaks in the suction line or fittings can prevent the pump from pulling water.
- Incorrect Tank Pressure: The new tank’s air pressure may not match the pump’s cut-in pressure.
- Clogged Pipes or Filters: Debris or sediment can block water flow after installation.
- Electrical Issues: The pump may not be receiving power due to a tripped breaker or faulty wiring.
Addressing these issues systematically will help you restore water flow quickly. Let’s dive into the steps to fix the problem.
Step-by-Step Guide to Fixing No Water Flow
Step 1: Check the Power Supply
Before diving into technical fixes, ensure the pump is receiving power. Check the breaker box for tripped circuits or blown fuses. Additionally, inspect the pump’s wiring for loose connections. If the pump isn’t running, no water will flow, regardless of the tank’s condition. If you’re unsure about electrical safety, consult a licensed electrician. According to This Old House, electrical issues are a common cause of pump failure.
Step 2: Inspect the Pressure Tank’s Air Pressure
A new pressure tank must have the correct air pressure to work properly. The air pressure should typically be 2-3 PSI below the pump’s cut-in pressure (check your pump’s manual for specifics). Use a tire pressure gauge to measure the tank’s pressure through the Schrader valve. If it’s too high or low, adjust it using an air compressor or release air as needed. Incorrect pressure can prevent the pump from cycling properly, leading to no water flow.
Step 3: Prime the Pump and Pressure Tank
If the pump isn’t primed, it can’t pull water from the well. To prime the system, follow these steps:
- Turn off the pump’s power to ensure safety.
- Locate the priming plug on the pump (usually a square or hexagonal bolt).
- Remove the plug and pour water into the pump until it’s full.
- Replace the plug and turn the pump back on.
- Open a faucet to release air and allow water to flow.
This process creates suction, enabling the pump to draw water. If water still doesn’t flow, repeat the priming process or check for other issues.
Step 4: Check for Air Leaks
Air leaks in the suction line can prevent the pump from maintaining suction. Inspect all pipes, fittings, and valves for cracks or loose connections. Apply soapy water to suspect areas; bubbles indicate a leak. Tighten or replace faulty components as needed. A secure system is essential for consistent water flow.
Step 5: Inspect Pipes and Filters for Blockages
Debris or sediment can clog pipes or filters, especially after installing a new tank. Check the inlet and outlet pipes for blockages. Additionally, inspect any filters in the system and clean or replace them if necessary. Flushing the system by running water through the pipes can help clear minor clogs.
Step 6: Test the System
Once you’ve addressed the above issues, turn on the pump and open a faucet. Monitor the pressure gauge on the tank to ensure it cycles between the cut-in and cut-out pressures (typically 30-50 PSI for residential systems). If water flows consistently, the issue is resolved. If not, consider consulting a professional plumber or well technician.
Additional Tips for Maintaining Your Pressure Tank
To prevent future issues, regular maintenance is key. Here are some tips to keep your system running smoothly:
- Check Air Pressure Regularly: Monitor the tank’s air pressure every few months to ensure it matches the pump’s settings.
- Inspect for Leaks: Routinely check pipes and fittings for signs of wear or leaks.
- Flush the System: Periodically flush the system to remove sediment buildup.
- Schedule Professional Inspections: Have a professional inspect your well system annually to catch potential issues early.
Maintaining your system not only prevents no-water scenarios but also extends the lifespan of your pump and tank. For more detailed maintenance advice, visit Bob Vila’s guide on well pump maintenance.
When to Call a Professional
While many issues can be resolved with the steps above, some situations require expert help. If you’ve primed the pump, checked for leaks, and verified the tank’s pressure but still have no water, there may be a deeper issue, such as a faulty pump or well problem. Additionally, if you’re uncomfortable working with electrical components or pressurized systems, contact a licensed plumber or well technician. Safety should always come first.
Conclusion
Fixing no water flow after a pressure tank replacement is often a straightforward process when you follow the right steps. By checking the power supply, ensuring proper tank pressure, priming the pump, and inspecting for leaks or blockages, you can restore your water system’s functionality. Regular maintenance and timely troubleshooting can prevent future disruptions, keeping your home’s water supply reliable. If the problem persists, don’t hesitate to seek professional help to avoid further complications.
Frequently Asked Questions
Why is there no water after replacing my pressure tank?
No water flow is often caused by improper priming, incorrect tank pressure, air leaks, or clogged pipes. Follow the steps above to diagnose and fix the issue.
How often should I check my pressure tank’s air pressure?
Check the tank’s air pressure every 3-6 months to ensure it matches the pump’s cut-in pressure, typically 2-3 PSI below the cut-in setting.
Can I prime a pressure tank myself?
Yes, priming is a simple process that involves filling the pump with water to create suction. Always turn off the pump’s power before priming.
What should I do if priming doesn’t restore water flow?
If priming doesn’t work, check for air leaks, clogs, or electrical issues. If the problem persists, contact a professional for assistance.
How can I prevent no-water issues in the future?
Regularly maintain your system by checking air pressure, inspecting for leaks, flushing pipes, and scheduling annual professional inspections.
Rea More:
Why Is Sewer Line Replacement So Expensive?


