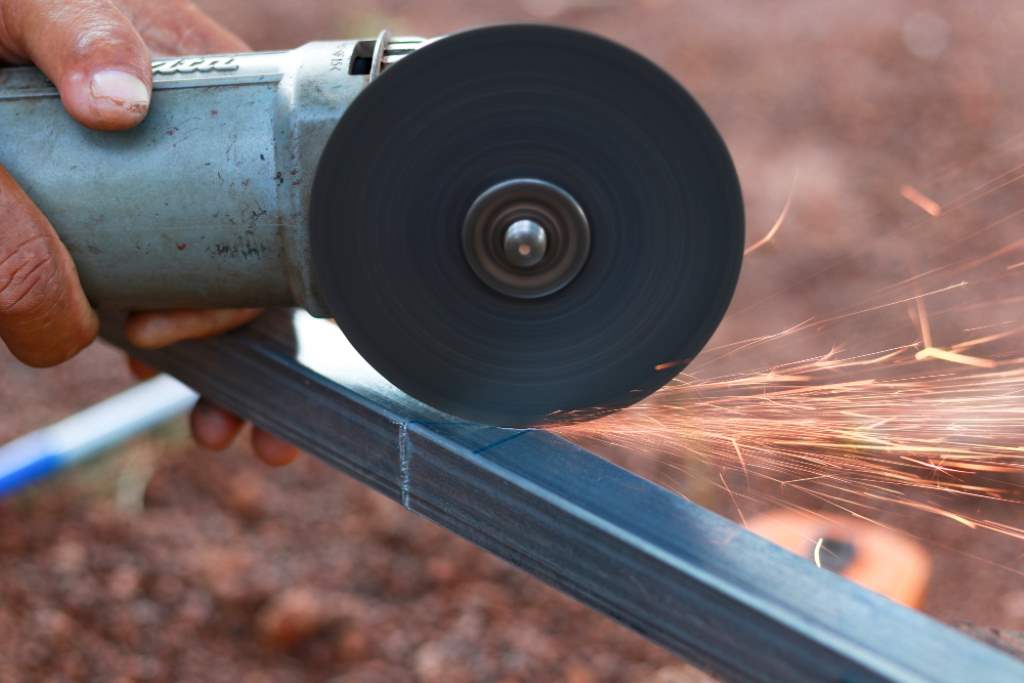
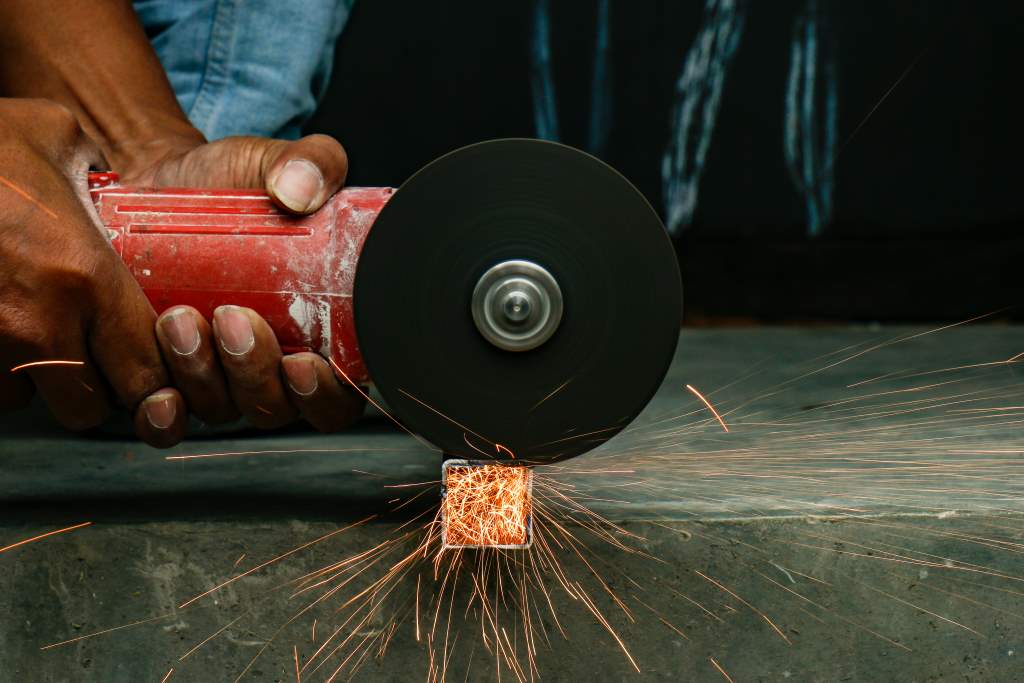
Angle grinders are versatile power tools used for cutting, grinding, and polishing materials like metal, stone, and concrete. However, like any tool, they can develop issues over time due to wear and tear, improper use, or lack of maintenance. Repairing an angle grinder at home can save you money and extend the tool’s lifespan. This comprehensive guide walks you through diagnosing and fixing common angle grinder problems safely and effectively, even if you’re not a professional. With clear steps, practical tips, and safety precautions, you’ll be equipped to tackle repairs with confidence.
Why Repair Your Angle Grinder?
Before diving into the repair process, let’s understand why fixing your angle grinder is worth the effort:
- Cost Savings: Professional repairs or replacements can be expensive. DIY repairs are often more affordable.
- Sustainability: Repairing extends the tool’s life, reducing waste.
- Skill Building: Learning to fix your tools boosts your DIY skills and confidence.
- Convenience: You can get your tool back in working order without waiting for a repair shop.
Common issues include the grinder not starting, producing excessive sparks, making unusual noises, or losing power. Let’s break down how to address these problems step by step.
Tools and Materials You’ll Need
To repair an angle grinder, gather these tools and materials:
- Screwdriver set (Phillips and flathead)
- Multimeter for electrical testing
- Replacement carbon brushes (specific to your grinder model)
- Lubricating grease (for gears)
- Cleaning rags and brushes
- Compressed air or a small brush for cleaning
- Replacement parts (e.g., bearings, gears, or switches, if needed)
- Safety gear (gloves, safety glasses, and a dust mask)
Always check your angle grinder’s manual for model-specific parts and instructions.
Safety First: Preparing for the Repair
Safety is critical when working with power tools. Follow these precautions:
- Unplug the Grinder: Ensure the tool is disconnected from the power source to avoid accidental starts.
- Work in a Well-Lit Area: A clean, well-lit workspace helps you see small components clearly.
- Wear Protective Gear: Safety glasses, gloves, and a dust mask protect you from debris and dust.
- Read the Manual: Refer to your grinder’s manual for specific disassembly instructions and part details.
Step-by-Step Guide to Repairing an Angle Grinder
Step 1: Diagnose the Problem
Start by identifying the issue. Here are common symptoms and their likely causes:
- Grinder Won’t Start: Could be due to a faulty power cord, switch, or worn-out carbon brushes.
- Excessive Sparks or Arcing: Often caused by worn carbon brushes or a damaged armature.
- Unusual Noises: May indicate worn bearings, gears, or loose components.
- Loss of Power: Could result from a clogged motor, worn brushes, or electrical issues.
Run the grinder (if it powers on) and listen for noises, check for vibrations, or observe sparks from the motor area. This initial assessment will guide your repair.
Step 2: Inspect and Test the Power Supply
A grinder that doesn’t start may have an issue with its power supply:
- Check the Power Cord: Inspect the cord for cuts, frays, or exposed wires. Use a multimeter to test continuity. Set the multimeter to continuity mode, touch the probes to each end of the cord, and check for a reading. No reading indicates a broken cord that needs replacement.
- Test the Switch: If the cord is fine, the switch might be faulty. Remove the grinder’s housing (using a screwdriver) to access the switch. Test it with a multimeter for continuity. If defective, replace it with a compatible switch for your model.
- Check the Outlet: Plug the grinder into a different outlet to rule out a power source issue.
Pro Tip: If you’re not comfortable with electrical testing, consult a professional to avoid risks.
Step 3: Replace Carbon Brushes
Carbon brushes are a common culprit for grinder issues like sparking, power loss, or failure to start. These brushes transfer electricity to the motor’s armature and wear out over time.
- Locate the Brushes: Most angle grinders have brush caps on either side of the motor housing. Remove these caps with a screwdriver.
- Inspect the Brushes: Pull out the carbon brushes and check for wear. If they’re shorter than 1/4 inch or show uneven wear, replace them.
- Install New Brushes: Insert replacement brushes (ensure they match your grinder’s model) and secure the caps. Avoid forcing them, as misalignment can damage the motor.
Step 4: Clean the Motor and Internal Components
Dust and debris can accumulate inside the grinder, causing overheating or poor performance.
- Open the Housing: Remove the screws holding the grinder’s housing and carefully separate the parts.
- Clean the Motor: Use compressed air or a small brush to remove dust from the motor, armature, and cooling vents. Avoid using water, as it can damage electrical components.
- Inspect for Damage: Look for signs of wear on the armature, such as burn marks or pitting. If damaged, the armature may need professional repair or replacement.
Pro Tip: A clean motor runs cooler and lasts longer. Perform this maintenance every few months for heavy use.
Step 5: Check and Lubricate Gears
If your grinder makes grinding or screeching noises, the gears or bearings may be worn or dry.
- Access the Gearbox: Remove the grinder’s head to expose the gears. This usually involves unscrewing the gear housing near the disc.
- Inspect Gears and Bearings: Look for worn or chipped gear teeth. If bearings feel rough when spun, they may need replacement.
- Lubricate: Apply a thin layer of high-quality lubricating grease to the gears. Avoid over-greasing, as excess can attract dust.
- Replace Damaged Parts: If gears or bearings are damaged, order replacements specific to your grinder model.
Step 6: Reassemble and Test the Grinder
Once repairs are complete, reassemble the grinder:
- Reattach Components: Carefully put the housing back together, ensuring no wires are pinched.
- Tighten Screws: Secure all screws but avoid overtightening, which can strip threads.
- Test the Grinder: Plug it in and run it briefly without a disc attached. Listen for smooth operation and check for vibrations or sparks.
If the grinder still doesn’t work, revisit the diagnosis or consider professional help.
Explore Stylish Outdoor Bar Stools.
Common Mistakes to Avoid
- Using Incorrect Parts: Always use parts compatible with your grinder’s make and model.
- Skipping Safety Checks: Never bypass safety features or work on a plugged-in tool.
- Overlooking Regular Maintenance: Clean and inspect your grinder regularly to prevent major issues.
- Ignoring the Manual: Your grinder’s manual is a valuable resource for model-specific guidance.
When to Seek Professional Help
Some repairs are best left to professionals:
- Complex Electrical Issues: If the motor or armature is damaged, professional repair may be needed.
- Warranty Concerns: Check if your grinder is under warranty before attempting repairs, as DIY fixes may void it.
- Lack of Confidence: If you’re unsure about any step, consult a professional to avoid damaging the tool or injuring yourself.
Preventative Maintenance Tips
To keep your angle grinder in top shape:
- Clean Regularly: Remove dust and debris after each use.
- Store Properly: Keep the grinder in a dry, dust-free environment.
- Check Brushes Periodically: Replace carbon brushes before they wear out completely.
- Use the Right Discs: Ensure the grinding or cutting discs match the tool’s specifications.
Conclusion
Repairing an angle grinder at home is a rewarding DIY project that saves money and extends the life of your tool. By following this step-by-step guide, you can diagnose and fix common issues like a faulty switch, worn carbon brushes, or dirty components. Always prioritize safety, use the right tools, and refer to your grinder’s manual for guidance. With a little patience and practice, you’ll have your angle grinder running smoothly in no time.
For more DIY tool repair tips, check out our other blog posts or leave a comment below with your questions! Ready to tackle your next project? Grab your tools and get started!


