

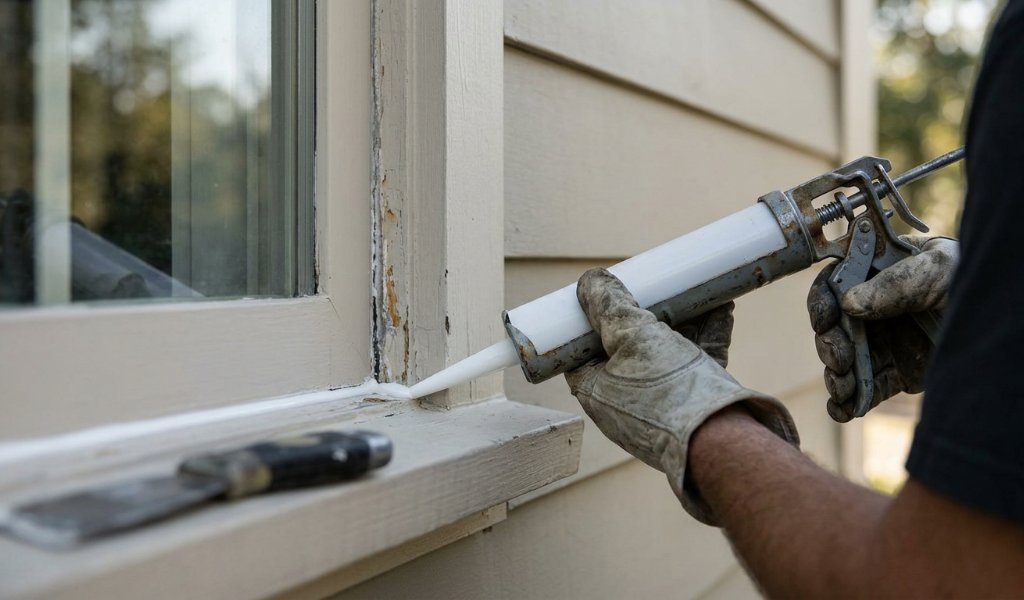
To reseal windows, scrape away the old caulk, clean the frame, and press in a backer rod for gaps wider than a quarter inch. Then apply a fresh bead of silicone or polyurethane sealant and smooth it into place. Most homeowners finish one window in under an hour once the old material is gone.
Drafty windows waste energy every single day they sit untreated. A cracked seal lets conditioned air slip outside while rain and dust slip in. Resealing restores that barrier without the cost of full window replacement, and the job fits comfortably into a single weekend for most houses.
Signs Your Windows Need Resealing
Not every window needs attention right away. Watch for these warning signs before you grab a caulk gun:
- Cold drafts near the frame even when the window stays shut
- Visible cracks, gaps, or peeling in the old caulk line
- Condensation forming between the glass and the frame
- A noticeable jump in heating or cooling bills
- Flaking paint or soft, discolored wood around the sill
If you notice two or more of these, the seal has likely failed. Catching the problem early prevents moisture from reaching the framing lumber underneath.
Tools And Materials You Need
Gathering supplies before you start keeps the project moving without interruption. Here is what most window resealing jobs require:
- Caulk gun and a utility knife
- Caulk softener or a heat gun for stubborn old material
- Plastic or metal putty knife for scraping
- Painter’s tape to keep lines crisp
- Foam backer rod for gaps over a quarter inch
- Silicone, polyurethane, or hybrid sealant suited to your frame material
- Rubbing alcohol or mineral spirits for final cleaning
- A damp cloth and a dry rag
Buy slightly more sealant than you think you need. Running out mid bead creates an uneven seam that is hard to fix later.
Step By Step Guide To Resealing Windows
Follow this sequence in order for the cleanest, longest lasting results.
Step 1: Inspect The Window Frame
Walk around the house and check every window for cracked or missing caulk. Press on the wood near the sill to feel for soft or spongy spots. Soft wood signals rot, and caulk alone will not fix that underlying damage. Flag any window that needs carpentry repair before you move forward with sealing.
Step 2: Remove The Old Caulk
Apply a caulk softening gel to brittle sections and let it sit for roughly two hours. Scrape the loosened material away with a plastic putty knife to avoid scratching the frame. Work in short sections rather than trying to clear the whole window at once. Dispose of the old caulk strips as you go so the workspace stays clear.
Step 3: Clean And Dry The Surface
Wipe the bare joint with rubbing alcohol or mineral spirits to remove grease and dust. Let the surface air dry completely before you continue. Trapped moisture under new sealant causes bubbling and early failure. On humid days, give the area extra time or use a fan to speed drying.
Step 4: Add A Backer Rod For Large Gaps
Press a foam backer rod into any gap wider than a quarter inch using a putty knife. The rod controls the depth of the sealant and stops it from sinking into the cavity. It also saves material, since you no longer need to fill the entire void with caulk. Choose a rod diameter slightly larger than the gap for a snug fit.
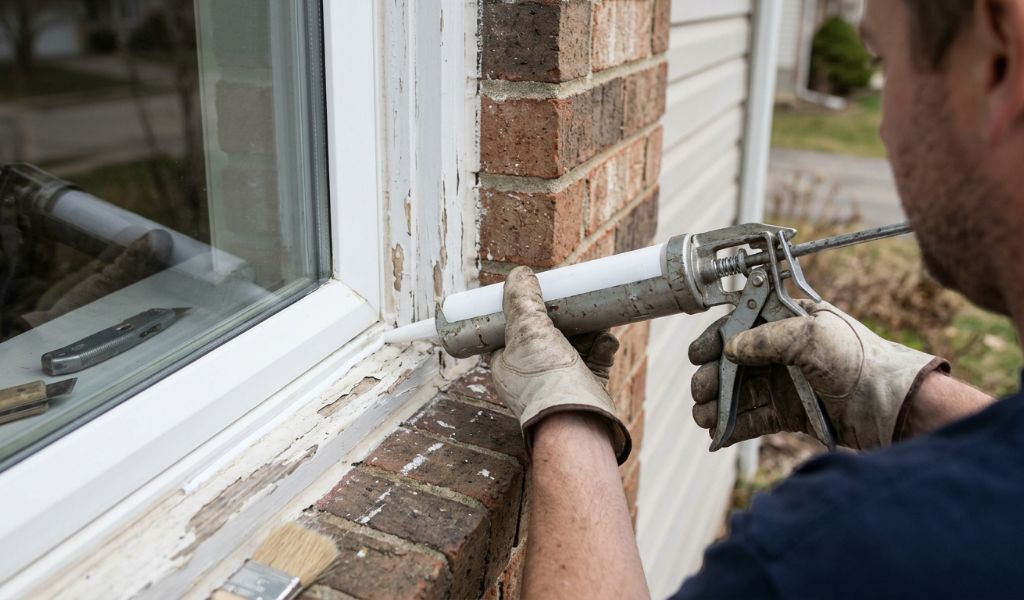
Step 5: Apply The New Sealant
Cut the caulk tube tip at a 45 degree angle for an even flow. Load the tube into the gun and run a steady, continuous bead along the joint. Hold the gun at a consistent angle and keep your pace slow and even. Avoid stopping mid line, since restarting often leaves a visible lump.
Step 6: Smooth And Tool The Bead
Press the bead with a wet finger or a caulk smoothing tool right after application. This step pushes the sealant into the gap for better adhesion and a cleaner finish. Remove painter’s tape immediately, before the sealant begins to skin over. Pulling tape too late can tear the fresh bead.
Step 7: Let The Sealant Cure
Most silicone products skin over within an hour but need a full day to cure completely. Polyurethane sealants often take closer to 24 hours before they handle light contact. Avoid washing the window or exposing it to heavy rain during this window. Check the product label for the exact curing time, since formulas vary by brand.
Choosing The Right Sealant For Your Window Type
The right product depends heavily on your frame material and local climate. Wood frames generally pair well with acrylic or siliconized latex caulk, since both accept paint cleanly. Vinyl and fiberglass frames respond better to pure silicone or polyurethane, which flex without pulling away. Metal frames also do well with silicone, thanks to its strong adhesion and UV resistance.
Hybrid sealants combine silicone and polyurethane into one product. They offer the flexibility of silicone with the durability of polyurethane, which makes them a strong all purpose pick. Butyl rubber caulk works best on masonry joints or in regions with severe weather swings. It resists water well but handles less movement than silicone over time.
Interior Versus Exterior Resealing
Always reseal the interior side of a window before tackling the exterior. Sealing the outside first can trap moisture inside the wall cavity, where it has nowhere to escape. Interior caulk also tends to be easier to apply, since you can work without weather interference. Save exterior resealing for a dry day with moderate temperatures above 40 degrees Fahrenheit.
Exterior sealant faces harsher conditions, so durability matters more on that side. Choose a UV stable, weather rated formula for any joint exposed to direct sunlight. Interior sealant can prioritize a smooth, paintable finish instead, since it rarely faces extreme temperature swings.
Common Mistakes To Avoid
Even a simple task like caulking has pitfalls that reduce the lifespan of your work. Avoid these errors to get a seal that lasts for years:
- Caulking over old, failing material instead of removing it first
- Skipping the cleaning step and trapping dust under the new bead
- Using interior caulk on an exterior joint exposed to weather
- Applying sealant when temperatures sit below the product’s minimum rating
- Forgetting the backer rod on wide gaps, which wastes material and weakens the seal
- Pulling painter’s tape too late, which tears the finished line
Patience during prep work pays off far more than speed during application. A clean, dry, well prepared joint will outlast a rushed one by years.
DIY Resealing Versus Hiring A Professional
Most single story homes with accessible, lightly damaged windows suit a DIY approach well. The materials cost relatively little, and the skills needed are easy to learn in an afternoon. Multi story homes, extensive rot, or windows that must meet strict building codes often call for a professional instead. A contractor also carries insurance, which protects you if something goes wrong on a tall ladder.
Consider your comfort level honestly before deciding. A homeowner who has never used a caulk gun might practice on a hidden joint first. Professionals bring speed and warranty backed work, which matters most for larger or more complex projects.
How Long Resealed Windows Last
Quality sealant generally lasts between five and twenty years, depending on the product and exposure. Silicone caulk tends to last the longest, often reaching the twenty year mark in moderate climates. Butyl rubber and acrylic latex wear out faster, typically within five to ten years. Harsh sun, coastal salt air, and freeze thaw cycles all shorten that lifespan.
Inspect your window seals at least once a year to catch cracking early. A quick annual check costs nothing and prevents small gaps from turning into costly water damage. Staying ahead of the problem keeps your home comfortable and your energy bills predictable.
Resealing your windows is one of the most affordable upgrades a homeowner can tackle in a single weekend. Gather your materials, work through each window methodically, and let every bead cure fully before testing it. If your frames show rot or your glass has fogged between panes, consult a window professional before you invest more time in caulk alone. Start with the worst draft in your house today, and work your way around the rest of the windows from there.
Frequently Asked Questions
How often should I reseal my windows?
Most exterior window seals need fresh caulk every five years, though yearly inspections catch problems sooner.
Can I reseal windows in cold weather?
Most sealants require temperatures above 40 degrees Fahrenheit to cure properly, so cold weather application often fails.
Is silicone or polyurethane better for windows?
Silicone offers more flexibility and a longer lifespan, while polyurethane provides stronger adhesion on high movement joints.
Do I need to remove all the old caulk first?
Yes, caulking over old or failing material traps moisture and shortens the life of the new seal.
How long does new window sealant take to dry?
Silicone typically skins over within an hour, while polyurethane often needs a full day to cure completely.

